
DIY Wooden Crate Planter And Storage
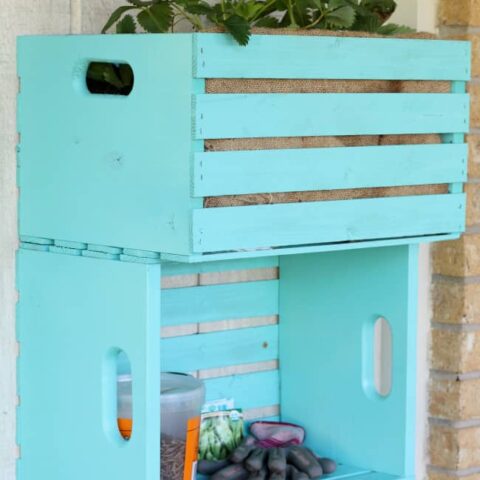
We spend much of our days outdoors now that it is Spring. Spending time in the garden, feeding and taking care of the chickens, or just playing outside. I find that my things tend to get scattered pretty easily, especially with three boys who love to help. I wanted a fun, functional storage area and of course, more planters because really, you can never have too many planters! I created this DIY wooden crate planter and storage to hold plants on top, and everything I need for quick access to everything I need for trips to the backyard.

DIY Wooden Crate Planter And Storage post brought to you by Harvest. All opinions are mine.
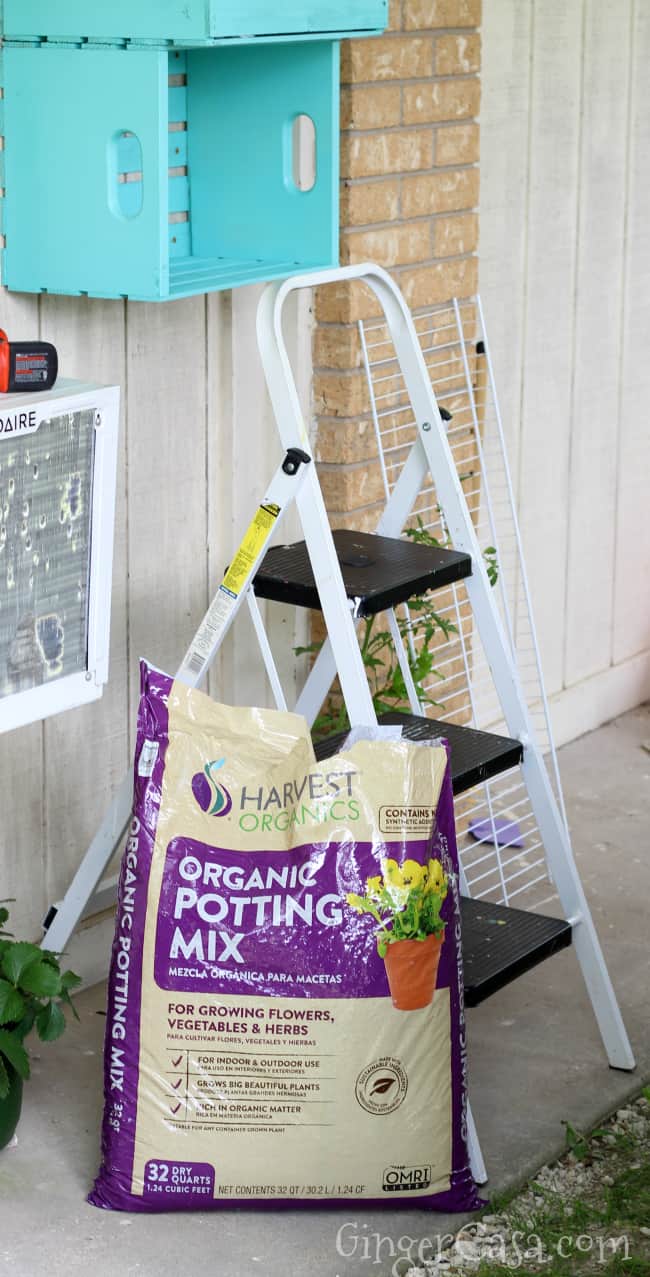
For my wooden crate planter, I knew that I wanted to grow a fruit or vegetable, so I picked up Harvest's Organic Potting Mix first. Harvest turns organic waste into organic gardening products that then feed the earth to create a more sustainable planet. Each year, Harvest saves 2,000,000 tons of waste from ending up in landfills! Plants will thrive in this rich, organic matter.
I love wooden crate crafts and DIYs, so this project was perfect for my style!


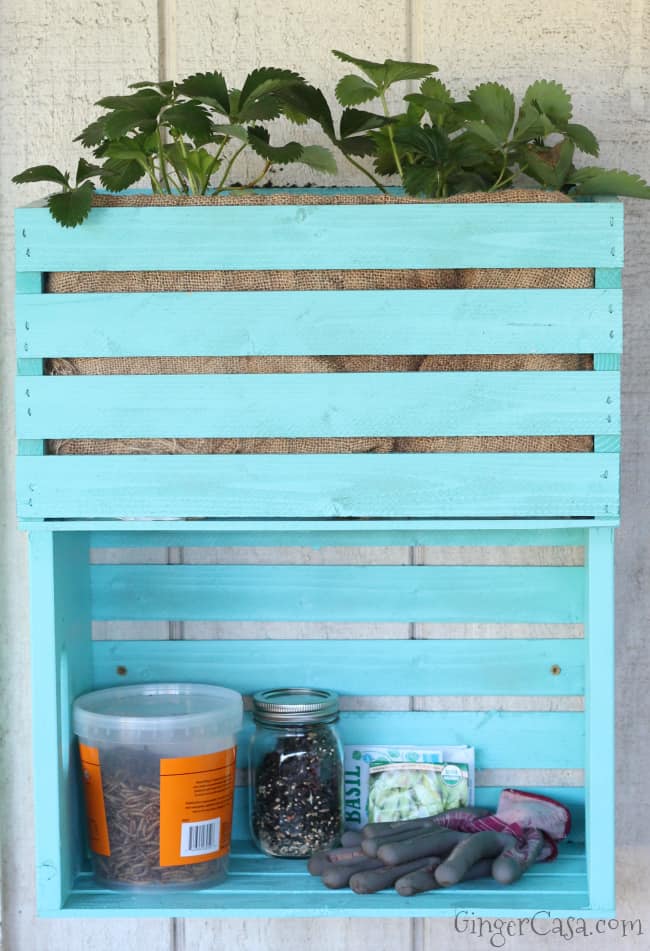
This project was so fun to make and definitely adds a splash of fun color to our back porch area. The bird seed and worms are easy to find for the chickens and birds, I never lose my gloves anymore, and the plant is safe and sound in it's cozy planter!
DIY Wooden Crate Planter And Storage
DIY Wooden Crate Planter and Storage
Materials
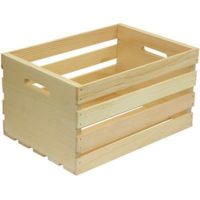
- 2 wooden crates
- Harvest Potting Mix
- outdoor paint
- 1-2 plastic trash bags
- a few rocks to help with drainage
- 2-4 plants of your choice, or seeds
- 10 deck screws (may be necessary to get a different kind depending on your wall material)
Tools
- stapler and/or hammer and tack nails
- screwdriver
- level
Instructions
- Wipe off the wooden crates and remove any dirt or debris.
- Set them on newspapers outdoors and paint or spray paint them with high quality outdoor paint.
- Let crates fully dry according to directions and weather conditions.
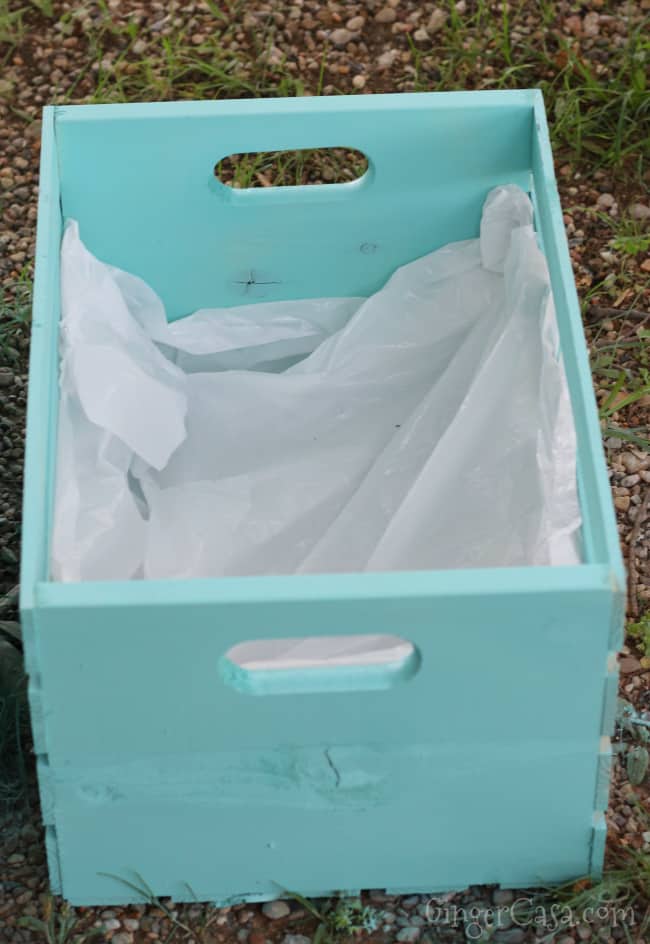
- When paint has dried, staple a layer of burlap on the inside of the front of your planter. (This will make your planter prettier than seeing a trash bag through the slats.)
- Cut a plastic garbage bag (or two) and nail or staple down inside of one crate. This will prevent muddy water from getting all over your crate and storage.
- Place a few rocks on top of the trash bag to help with drainage.
- Use a level to carefully measure and mark where your planter will go on the wall.
- Hold the planter up and have someone screw four screws on the inside four corners of the planter.

- Test to make sure the planter is secure and then place the other crate up under the planter, with the bottom against the wall.
- Screw six screws on the inside four corners and ends of the middle slat of the second crate.
- Carefully fill your planter halfway full with Harvest's Organic Potting Mix.
- Take out your plants and plant them in the potting mix, and then fill in the remainder of space with more potting mix.
- Add your gloves, seeds, bird seed, and other garden supplies to your storage area!
Recommended Products
As an Amazon Associate and member of other affiliate programs, I earn from qualifying purchases.
Don't miss these fun ideas:


THis is a great idea! Love the color you chose to paint it as well! Good job.
Thank you!
Love this easy DIY it is clever and pretty.
I would love to have you join me and a couple over bloggers on a gardening tour next month. Please say yes and join us with this post.
Happy spring,
Kippi #kippiathome
I'm LOVING the colour you chose! Thank you for sharing
thanks! It's my fav