DIY Fabric Pumpkins - Perfect Family Craft for Fall!
Have you ever wondered how to make fabric pumpkins? I have seen many different ones in the stores, and I wanted to try to make my own. The boys were really interested in this craft, and they were able to help with most everything. Obviously the sharp knife cutting should be left to adults or older children, but everything else is totally doable for little ones.
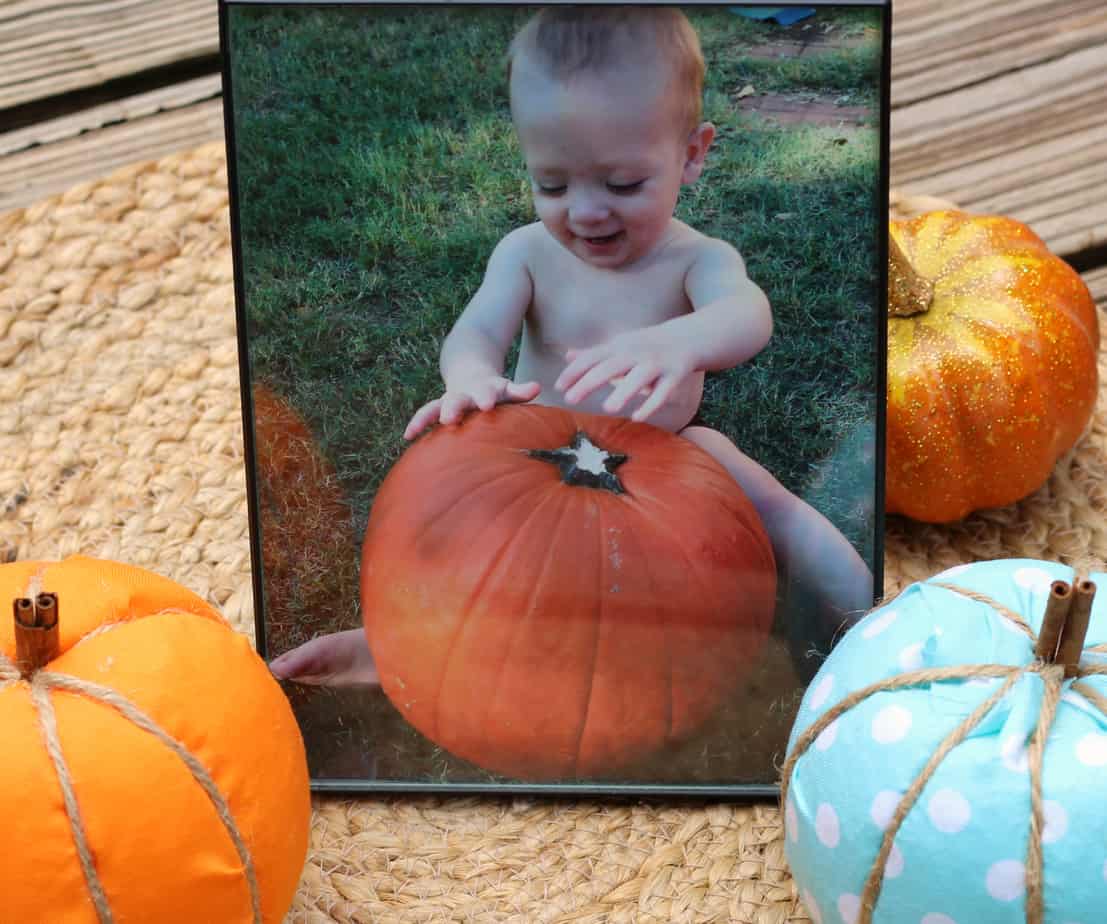
There is NOTHING in the world I love more than pumpkin decor. (ok, maybe that's a slight exaggeration...) But really, when I see pumpkins at the store, I want to buy them ALL. I love to carve pumpkins, eat pumpkins, and decorate pumpkins. I also do enjoy pumpkin spice, pumpkin recipes, and putting my babies in huge pumpkins, it's true! And these pumpkin cupcakes? yes please!
Here is one of my favorite pictures of our youngest baby with a big ol' beautiful pumpkin, that is on display year round in our house:
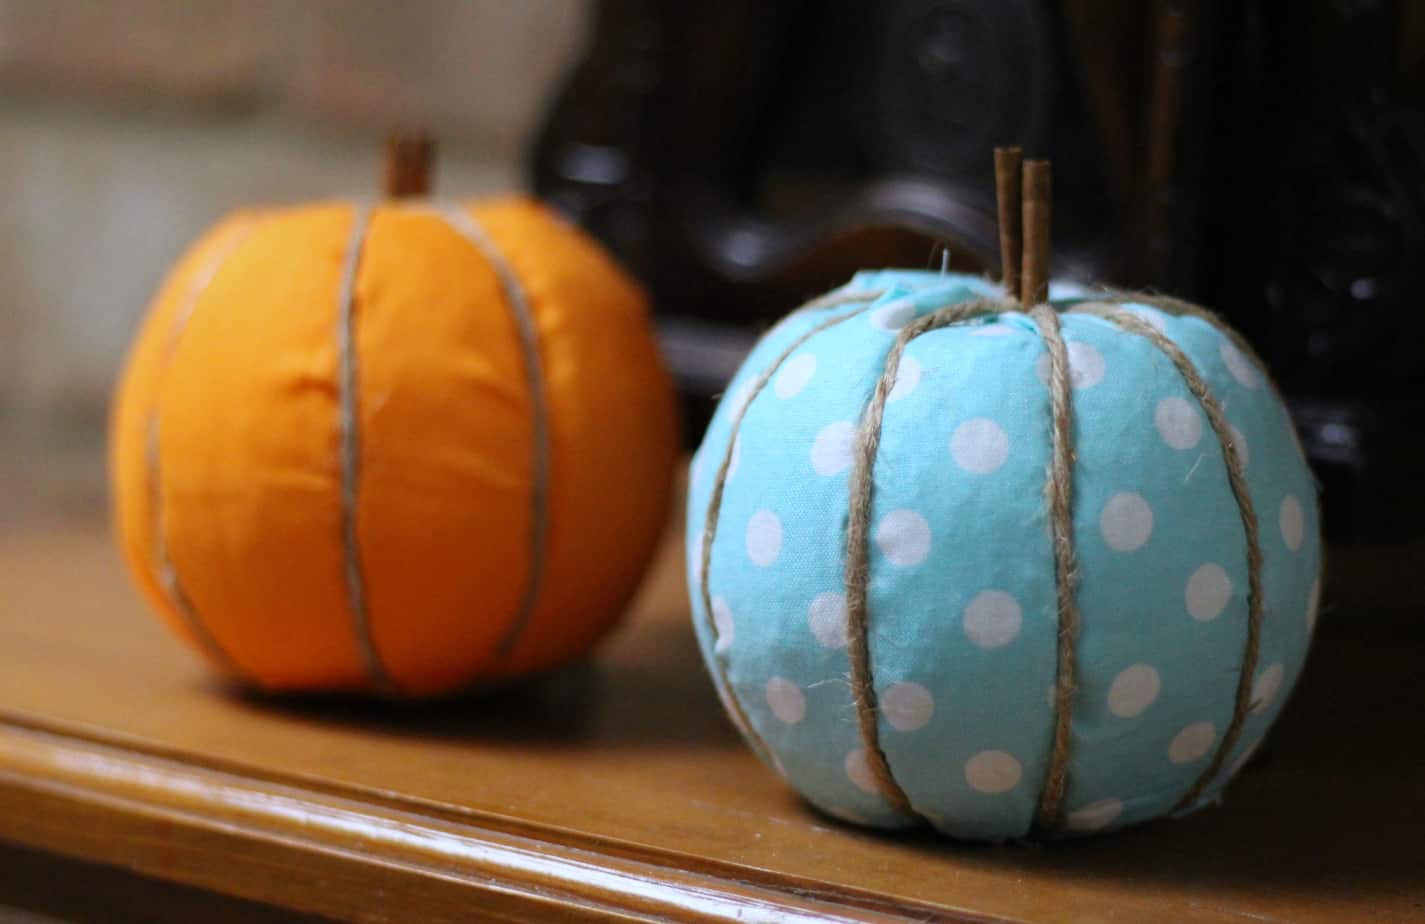
I am, of course, a sucker for a good pumpkin craft so I did a little thinking and shopping and came up with these super cute DIY Fabric Pumpkins. I made them both in less than an hour, and the kids were able to help out a little, and really, the oldest could do this entire craft by himself, you know, if he were patient and stuff.
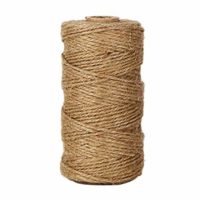
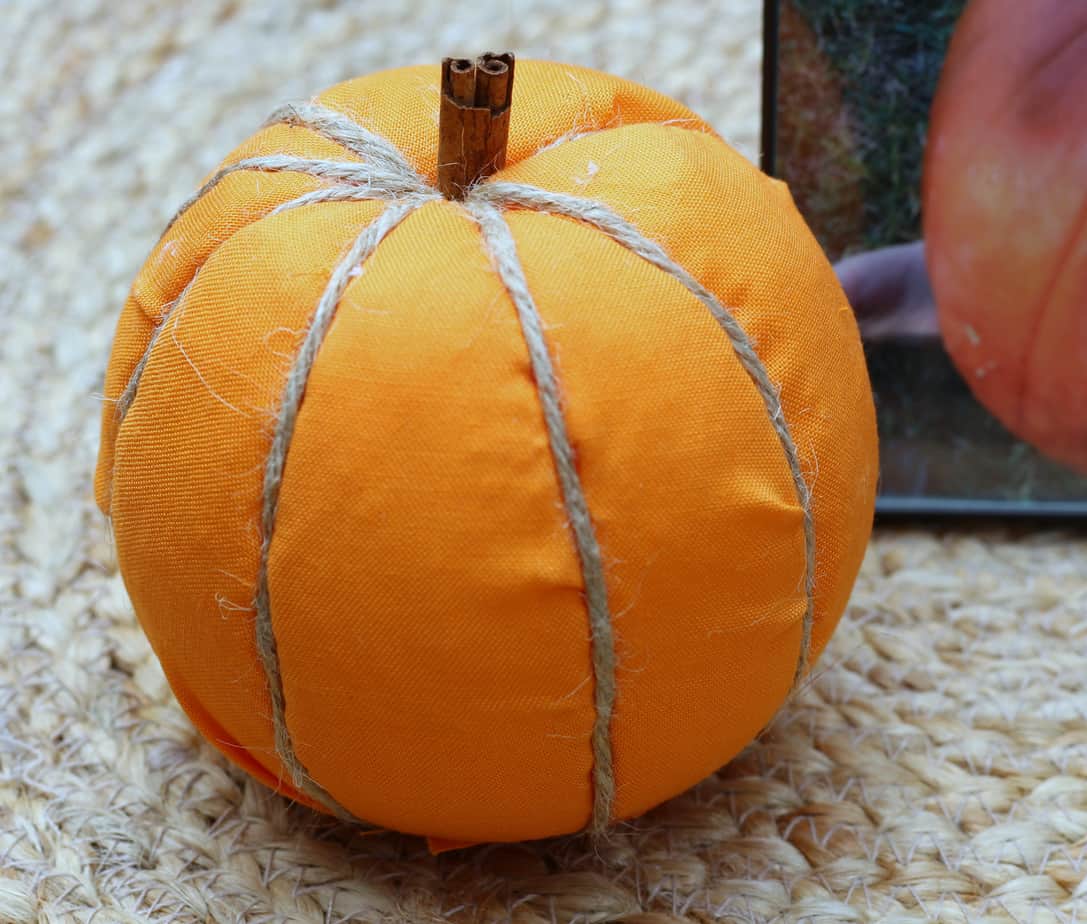
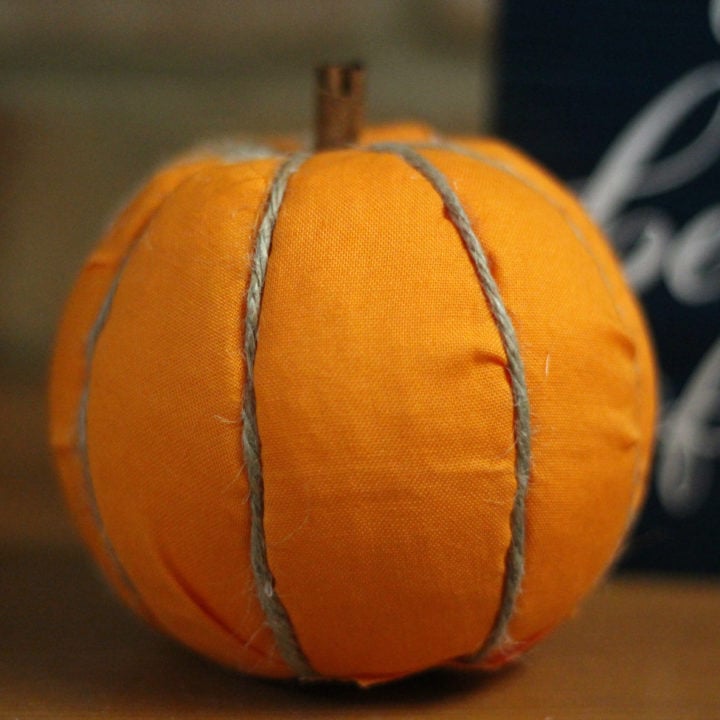
I chose to add jute to highlight the creases in the pumpkin, but they still look pretty cute without it.
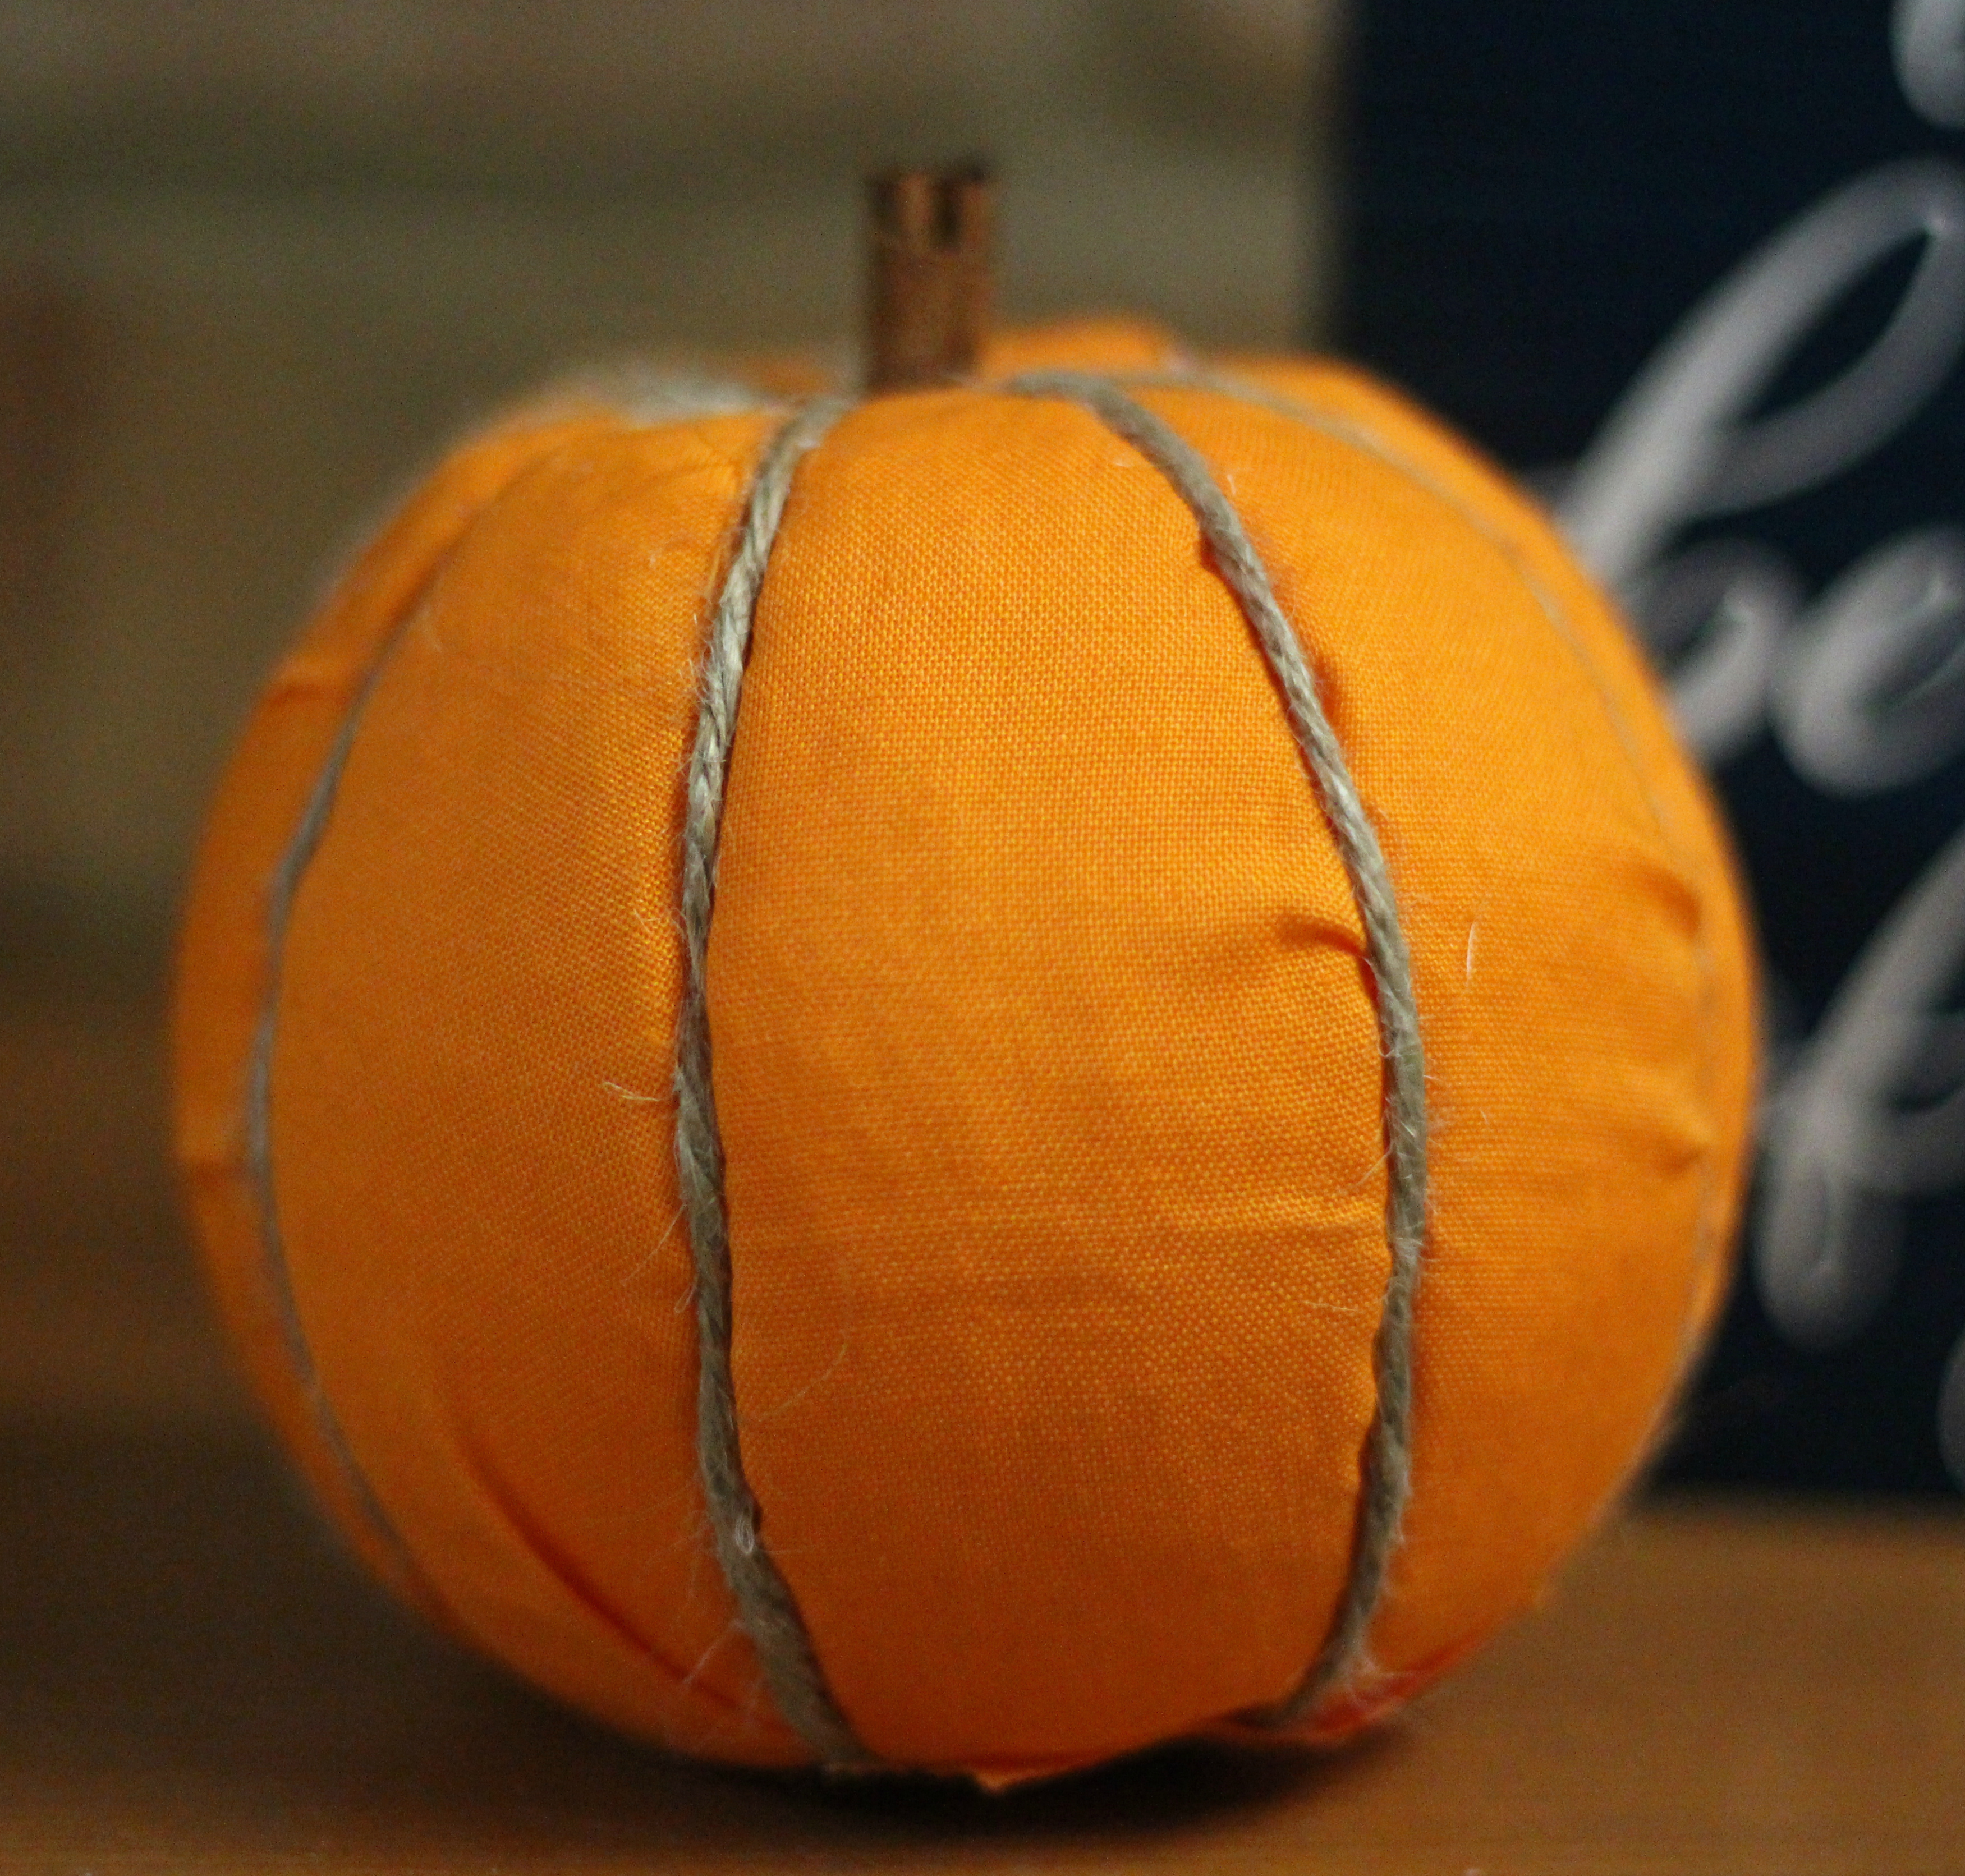
The cinnamon stick as the stem was the icing on the cake. The boys thought this was too cool and had to help with this part.
Here's another cute pumpkin craft for kids!
DIY Fabric Pumpkins
Make an adorable fall fabric pumpkin!
Materials
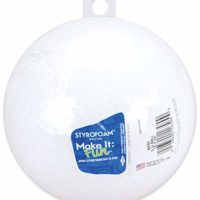
- 4-6" styrofoam ball
- strips of fabric, any color
- jute or twine
- craft glue or hot glue
Tools
- scissors
- x-acto knife
- dowel, wooden skewer, or seam ripper (anything to push the fabric into the styrofoam)
Instructions
- Using the knife or scissors, cut the top and bottom ends off of the ball, to look more like a pumpkin shape.
- Use the knife to press vertical lines into the pumpkin, using a real pumpkin or picture of a pumpkin for guidance.
- Cut fabric into 2 ½" x 6-7".
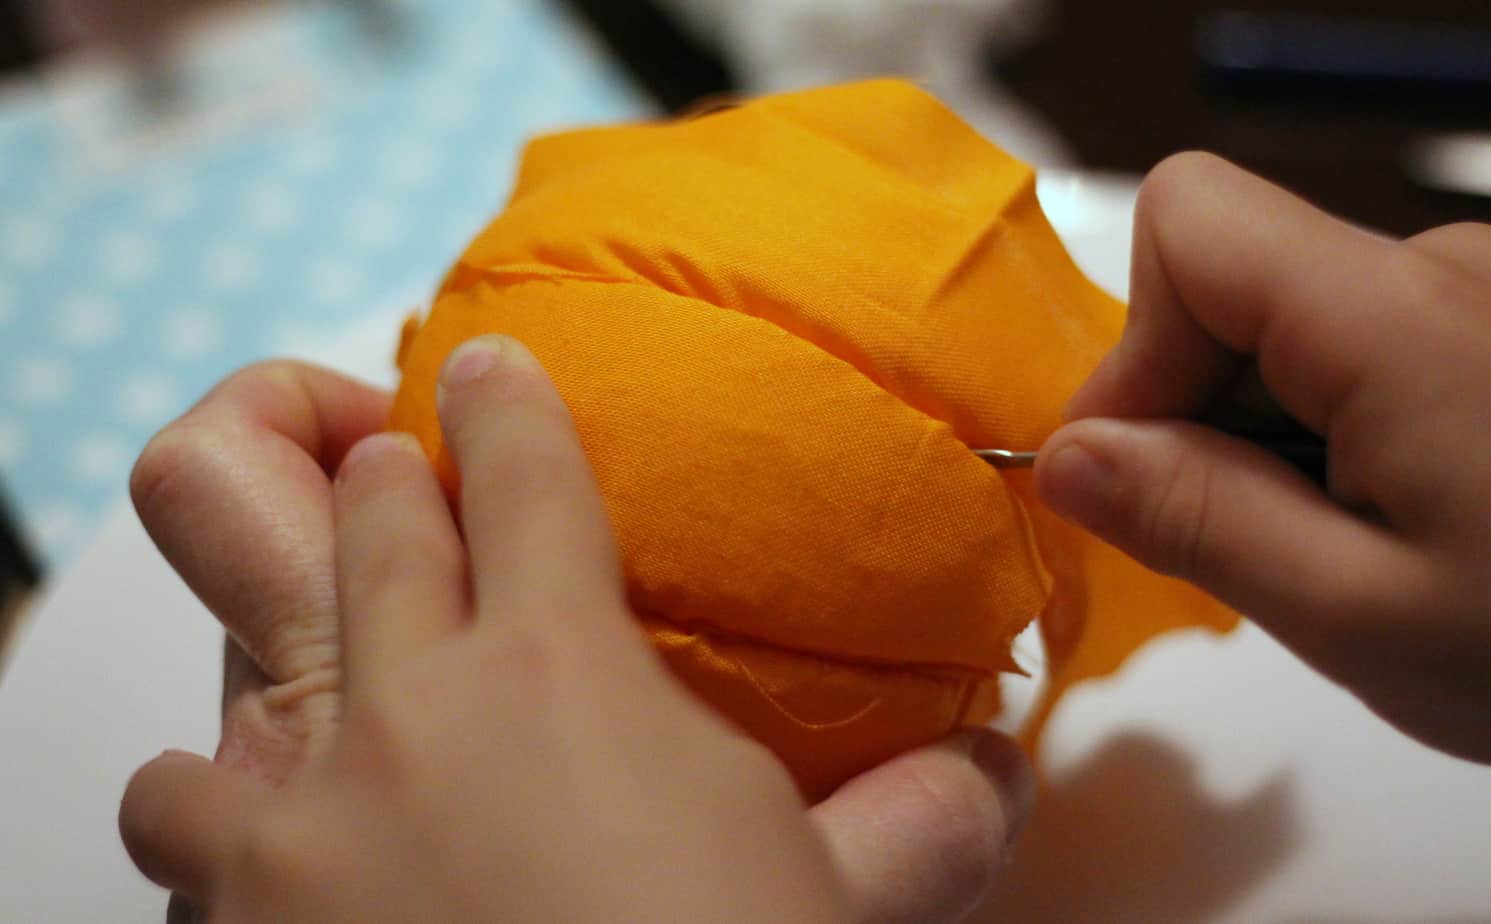
- Using the dowel, skewer, or seam ripper, gently press the fabric into the lines to cover each section.

- Trim and secure each piece of fabric at the top and bottom by pressing firmly into the styrofoam.
- When entire area is covered, cut jute or twine into 6-7" strips and press into the creases.
- Press ends firmly into the top and bottom of the pumpkin.
- Use craft glue or hot glue to secure, if necessary, along the creases and at the top and bottom.
- Press the cinnamon stick into the glue and let dry.
Recommended Products
As an Amazon Associate and member of other affiliate programs, I earn from qualifying purchases.