
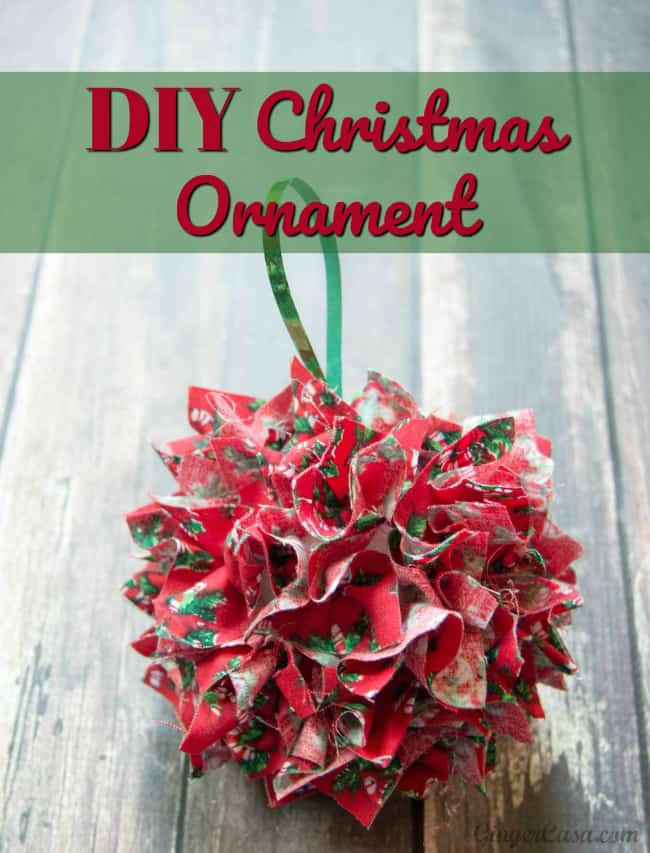
DIY Fabric Christmas Ornament
During my childhood, we made so many ornaments, both at home and at school. Salt dough ornaments, popsicle stick reindeer, picture ornaments, and other fun creations were all so fun to make! My mom held on to our ornaments through the years and my kids really love looking through them each year. This DIY fabric Christmas ornament will be a fun new tradition!
This ornament is fun to make with the kids. Take them shopping with you and let them pick out the styrofoam balls and fabric, and it will make it extra special. They make great teacher gifts, too. If you are a room parent in charge of the Christmas party activity, this would be simple to do as a class.
Kids can cut the fabric and combine different fabric choices, if desired. Let their imaginations run wild and show their favorites. My son would probably pick his favorite football team's colors...and that's ok. That would make a great gift for Grandma, or a cherished ornament year after year.
The DIY Fabric Christmas Ornament is a great way to practice fine motor skills, and little ones may need a little help.
DIY Fabric Christmas Ornament
Tips:
The squares don't have to be perfect. Approximately 1-2 inch squares work well.
Fabric should stay in nicely, as long as the ornament is handled gently.
Don't miss these cute DIY yarn ornaments and this adorable DIY Grinch hand ornament, too!
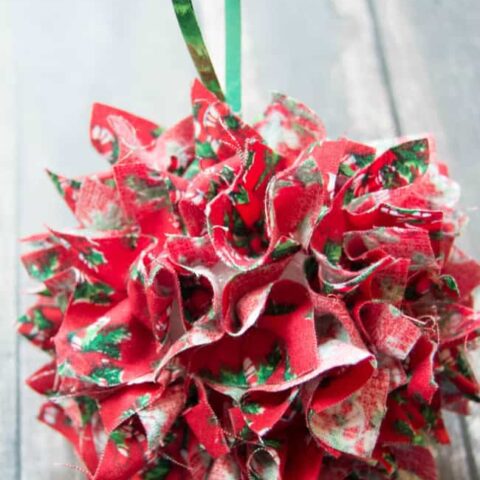
DIY Fabric Christmas Ornament
Make a fun DIY fabric Christmas ornament with your kids!
Materials
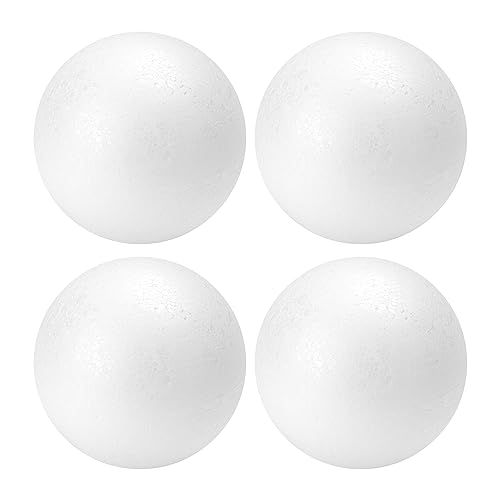
- Styrofoam Ball
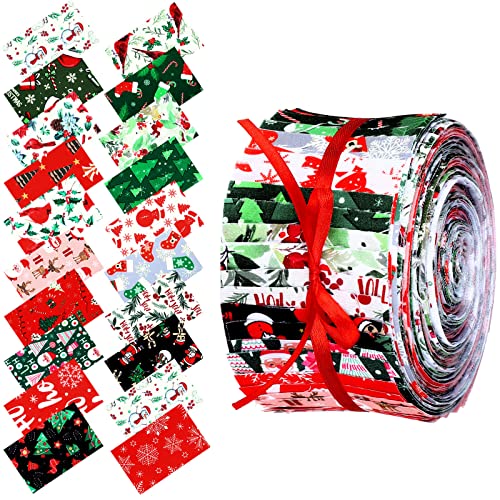
- 20-30 Square fabric scraps (amount will depend on size of styrofoam ball and how close you put them)
- Ribbon for hanging
Tools
- wooden skewer or dowel (or something similar to push fabric into ball)
- craft glue or hot glue gun to attach ribbon
Instructions
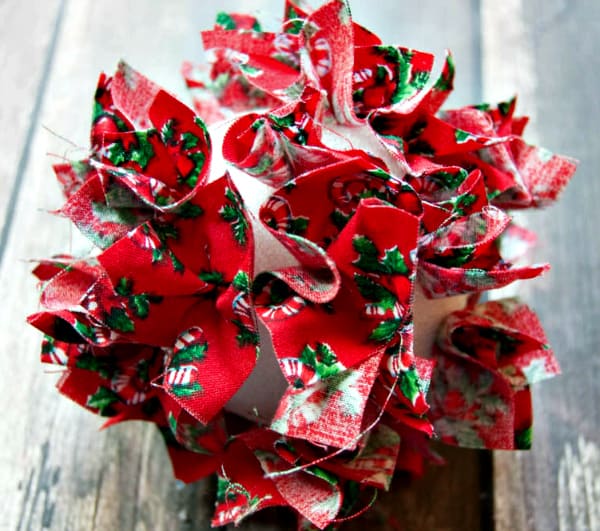
- Using a skewer, push into the center of the fabric square into the ball about half way.
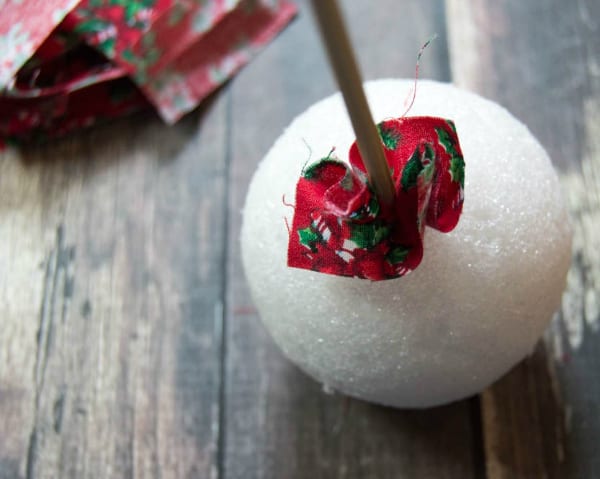
- Repeat all the way around, until the ball is covered.
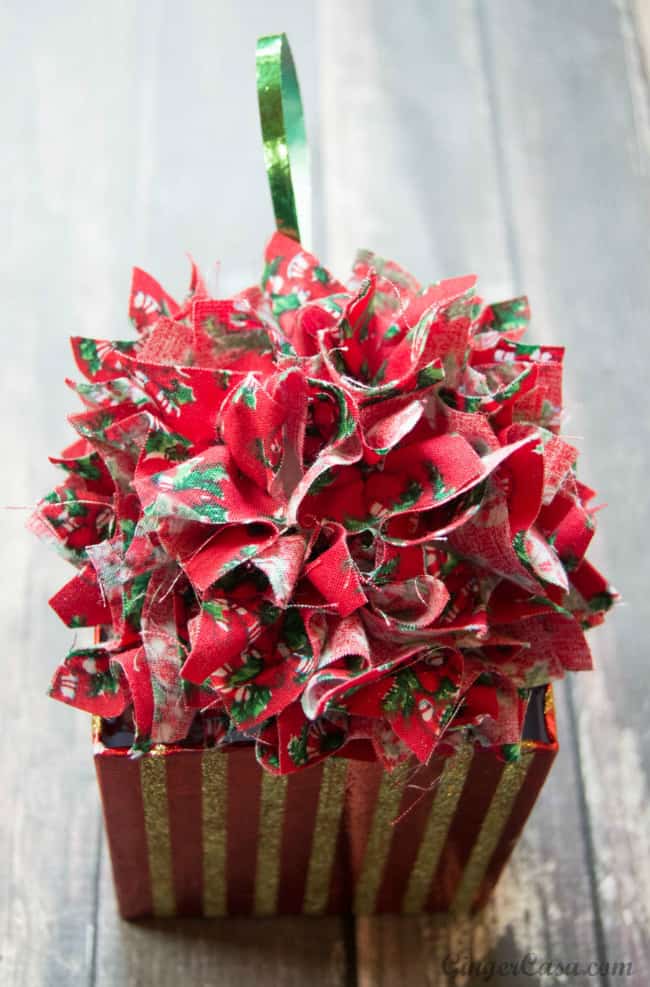
- Glue a ribbon to the top. Let dry.
- Hang and enjoy!
Notes
A reader suggested poking a hole with the skewer, adding a dot of glue inside, and then adding the fabric so the fabric would be more secure!
Recommended Products
As an Amazon Associate and member of other affiliate programs, I earn from qualifying purchases.
originally published 2017, updated Oct 2025


I have made wreaths in this manner and my way was to poke the hole first, add a dollop of tacky glue into the hole, and then push fabric into glue filed hole. I never had a problem with the pieces coming out this way. Just a thought.
Great idea!
What a great way to use up our leftover fabric pieces. Glad I came across this!
Gena, I made ornaments similar to these years ago, and the only problem I really had was some unraveling of the fabric squares. Any suggestions on how to avoid that?
Great work, by the way... Lots of great ideas from you!
Thank you! I'm not sure what you could do about the unraveling except something my mom taught me to do....seal off the unfinished edge with clear finger nail polish. That would be a lot of work, but would get the job done.
When my Mom made wreaths using this method, she used pinking shears to cut the fabric squares. That should help with the unraveling issue plus adds a finished look to the edges.
Thank you for that tip!
It's easier than I thought. Gonna try it! Thank you for sharing the tutorial!
I burned the edge to prevent fraying.
What size are the squares really great idea
Any size will work, but try 1" x 1"
Does the fabric not pull out if not glued. Very nice
You can add glue if you prefer, but unless someone is actively pulling on it, it should be fine!
Use pinking shears on pieces of fabric.