Three Layer Very Berry Dream Cream contains affiliate links
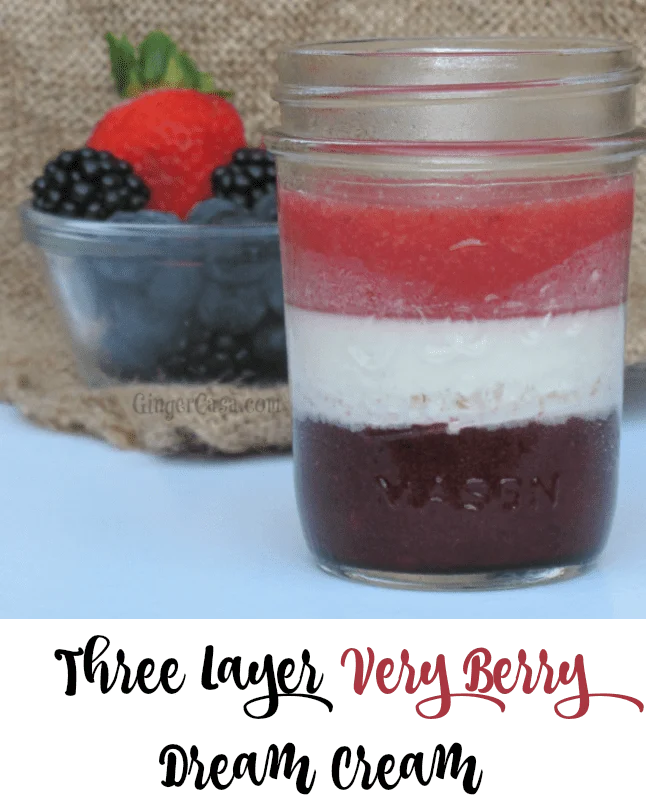
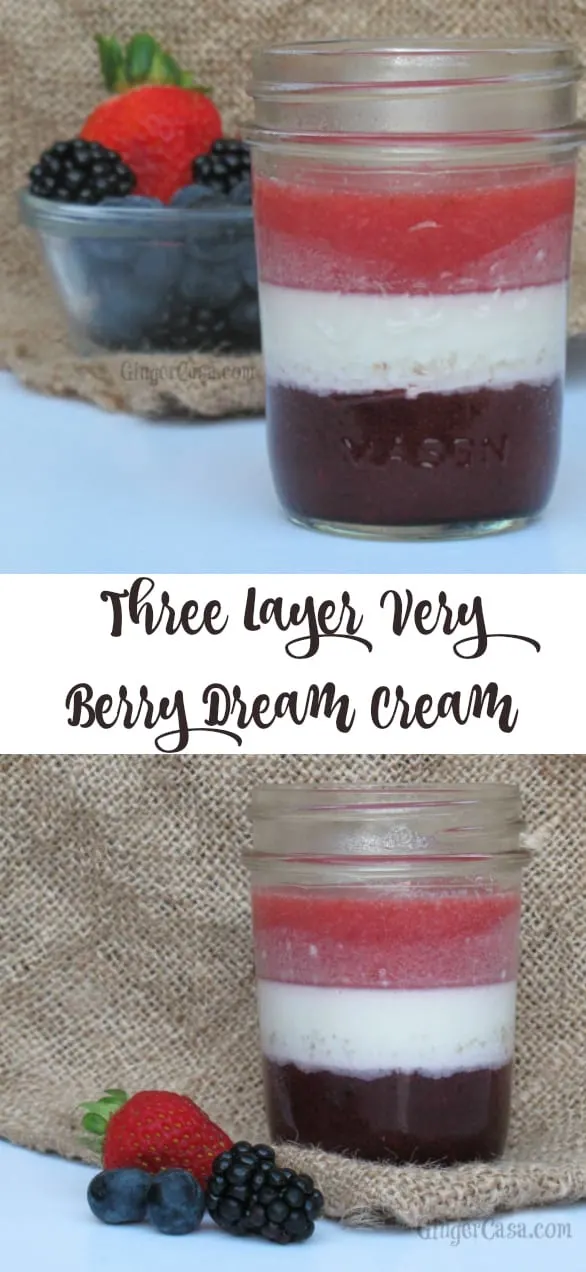
We have had some success in growing strawberries in the past, but blackberries are our big backyard berry producer. (Figures, since I've heard that blackberries grow wild and are even a nuisance to some people.) We have found that if we pick them right when they turn from red to black and keep them in a bowl on the cabinet for a few days, they're oh so sweet and rarely sour. Eat them too early, they're super sour and even bitter and if you leave them too long on the bush, the birds will attack them. Last year we had a lot of blackberries, so I came up with this fun recipe, using our three favorite berries - blackberries, strawberries, and blueberries. The boys named this dessert "Very Berry Dream Cream" and we all love it. The whole process takes a couple of days because each layer has to set, so I recommend making a big batch to make it worth it. This recipe makes anywhere from 10-15 servings, depending on the size of your jars or containers. Also, you could make a big dish instead of individual serving sizes. Whatever you choose to do, I know you will enjoy this delicious recipe!
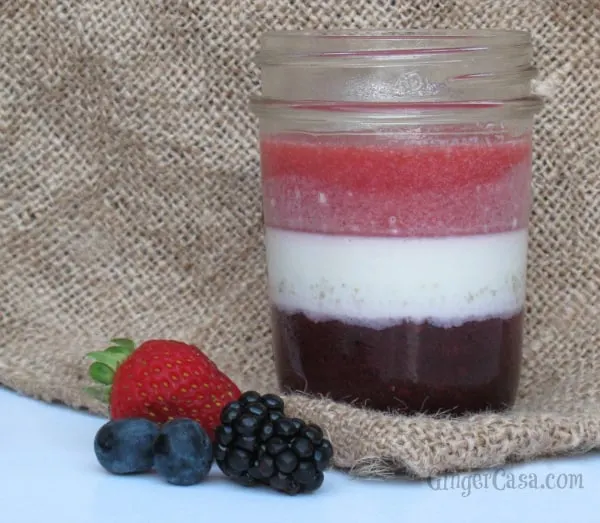
I know this seems like a ton of work, but really it's about planning. Each step doesn't take longer than 15-20 minutes, it's just the waiting for each layer to set. Hubby and the boys LOVED this dessert and it's relatively healthy. Grass fed gelatin has great health benefits and the berries provide antioxidants. So, eat up and enjoy!
Try this Layered Strawberry Pretzel Salad Dessert, too!
Enjoy this Three Layer Very Berry Dream Cream Recipe!
Three Layer Very Berry Dream Cream - A New Summer Favorite!
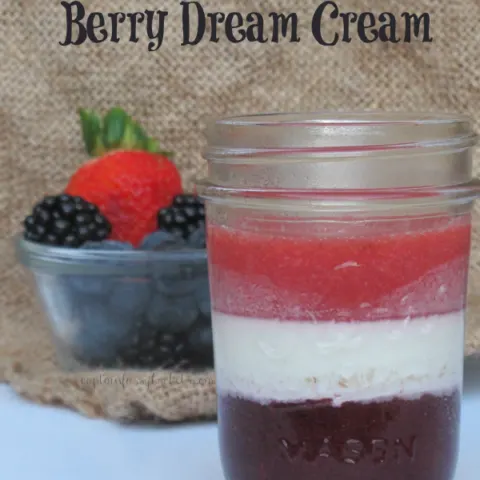
A sweet treat that's good for you! Three Layer Very Berry Dream Cream is a new summer favorite!
Ingredients
Bottom Layer
- 2 cups blueberries
- 1 cup blackberries
- 1 tablespoon gelatin
- 2 tablespoon sugar
Middle Layer
- 1 tablespoon gelatin
- 4 tablespoon cold water
- 16 oz heavy whipping cream
- 12 oz milk
- ½ cup sugar
- 2 teaspoon vanilla
Top Layer
- 2 cups strawberries
- ½ tablespoon gelatin
- 2 tablespoon sugar
Instructions
Directions for First Layer:
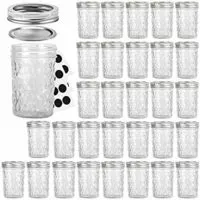
- Wash and dry all of your Mason jars and set aside.
- Also, make room in your fridge for the jars. (This will save you frustration later!)
- Rinse the blackberries and blueberries with fresh water, then place in a blender, along with the gelatin and sugar.
- Puree' the berries, gelatin, and sugar for a few minutes, until smooth with no lumps. Optional: pour mixture through a strainer to remove blackberry seeds that didn't puree'. I didn't do this and it wasn't a big deal, but it might be if you have texture issues. Another option would be puree' the berries, remove the seeds, then add in the gelatin and sugar.
- Pour mixture into a pot on the stove on medium-high heat and remove once it starts boiling.
- Carefully pour a layer of the mixture into the bottom of each of your mason jars.
- Refrigerate for 8 hours or better, overnight.
Directions for Middle Layer:
- When the first layer is completely firm, begin the second layer. (If you pour the second layer too soon, you'll have your layers mixed up and while still delicious, it's not as pretty.)
- Mix 1 tablespoon gelatin into 4 tablespoon cold water. Leave for 5-10 minutes and let it swell.
- Pour 16 oz heavy whipping cream, 12 oz cold milk, and ½ cup sugar in a medium sauce pan, stir, and simmer over medium-high heat. (Don't let it boil.)
- After sugar has dissolved, remove from heat and add in 2 teaspoon vanilla and stir.
- Let cool for 5-10 minutes and then add in gelatin that has swelled.
- Stir until gelatin has dissolved completely.
- Carefully pour on top of the blueberry/blackberry layer in each jar.
- Refrigerate for 4-6 hours or better yet, overnight.
Directions for Top Layer:
- Rinse the strawberries and trim the green tops off and discard.
- Place strawberries, ½ tablespoon gelatin, and 2 tablespoon sugar into blender or food processor and puree' completely for a few minutes.
- Pour mixture through a strainer to remove seeds, if desired.
- Place mixture in a medium sauce pan and simmer over medium-high heat just until boiling.
- Remove from heat and let cool for 5-10 minutes.
- Pour mixture over the middle layer and refrigerate for a few hours. It's not as essential that this layer set completely, so eat whenever it's cool!
Recommended Products
As an Amazon Associate and member of other affiliate programs, I earn from qualifying purchases.


kim
Wednesday 26th of April 2017
That's good to know about blackberries since we have a bush out back that produces more and more each year! I may or may not be happy about that!!
Sandra
Sunday 19th of July 2015
This looks delicious and all the better with homegrown berries. I've got strawberries, raspberries and brambles on my allotment x
Leslie
Saturday 18th of July 2015
Yum! These look really tasty. You can either way later by layer or you can mix the flavor a.
Andrew McMaster
Monday 13th of July 2015
Oh my goodness! I have just discovered your blog. How delicious does this look! Nom nom nom. I am all about the visual and this just sells to me. Fantastic post and fantastic blog. :)
Gena
Tuesday 14th of July 2015
Thank you! I hope you enjoy!