
 We are pretty big Dallas Mavericks fans. Well, the Captain insists that he doesn’t like the Mavs, but as long as he lives in our house, he is a Mavs’ fan….HA! Well, when he was a baby, I ordered some super cute Dallas Mavericks fabric on ebay for a custom cloth diaper. Well, I had to order a lot of it, and so I had some left over that I didn’t know what to do with. While shopping, I found the Captain a wooden letter for his name and decided to make him a cute personalized fabric covered wooden letter for his room, using the Dallas Mavericks fabric. It has become a tradition in our house, and now all of the boys have one.
Yesterday I realized that Baby Brother is almost 17 months old and still didn’t have a Dallas Mavericks letter, so we all made it a family affair to make him one. Here’s how we did it!
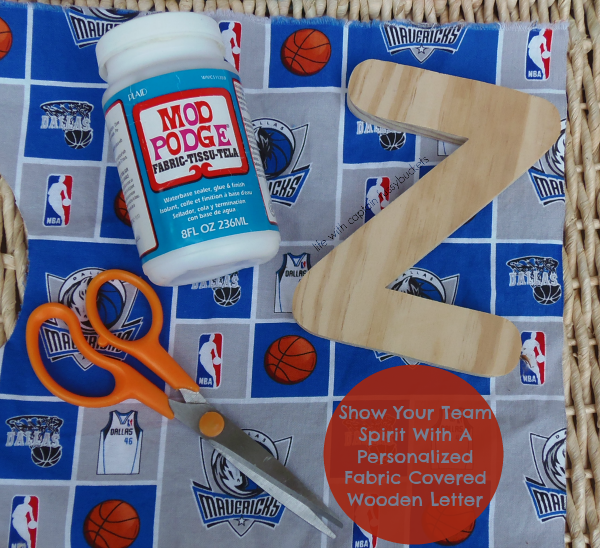
Materials needed:
- enough fabric to cover your letter – I bought mine on ebay, but you can get it at some fabric stores or on Amazon, you just have to search!
- Mod Podge for fabric
- small paint brush
- scissors
- craft paint, if desired
Instructions:
- Lay your wooden letter on the fabric. Pull the fabric up and over the sides of the letter to see how big you need to cut your fabric. Trace around it.
- Make sure that you cut the same size border around the whole letter and cut all around it. Don’t cut out holes yet, if your letter has one.
- You have two choices at this point. You can either cut the fabric to cover only the front of the letter OR you can wrap it around the sides. The latter is a bit trickier, but you can do it! If you want to only cover the front, you can now cut exactly where you need it and cut the holes out. If you want to cover the sides, continue to step 4.
- To cover corners and curves, you’ll want to pull the fabric and either fold down or clip. I chose to clip on the corners and insides of the letter.
- Cover the front of the letter with Mod Podge with your brush.
- Position the fabric how you want it, face down, and lay the Mod Podge covered letter on top. Turn over and smooth out bubbles and wrinkles with your fingers.
- Now, paint the sides of the letter with Mod Podge.
- Work the fabric so it covers the sides. You might need to make adjustments or extra clips as you go along.
- If you have a bare spot, don’t worry! Most places can be fixed easily with extra remnants of fabric.
- You’ll want to make sure that the fabric lays down nicely. Add more Mod Podge on top to create a shiny finish and to make sure it all lays down nicely.
- **If you did not cover the sides with fabric, wait until the Mod Podge dries and then use craft paint to cover the sides, careful not to paint the fabric.
- Let dry and hang!
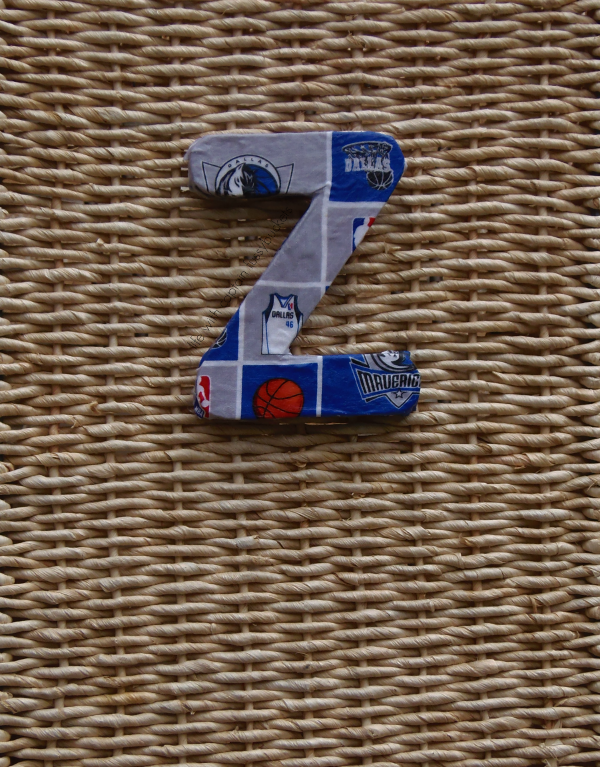 My letter Z does have a few wrinkles, as you see. I should have pulled it tighter at the top. The good news is, this project is fairly inexpensive, so I can make another easily!
This post contains affiliate links.
Lenze
Sunday 26th of April 2015
Such a cute idea. I did not know you could do that with fabric.
Jenny Temcio
Saturday 25th of April 2015
I am always looking for new craft ideas! This is good one!
Gena
Sunday 26th of April 2015
thanks, Jenny!
Robin (Masshole Mommy)
Saturday 25th of April 2015
Sadly, I only ever see people paint these wooden letters! Good idea!
Stacey- Travel Blogger
Saturday 25th of April 2015
This is such an adorable craft! I'll have to try it out!
Gena
Sunday 26th of April 2015
thanks, Stacey!
Dawn
Saturday 25th of April 2015
I have always loved Mod Podge! It's a miracle worker!