
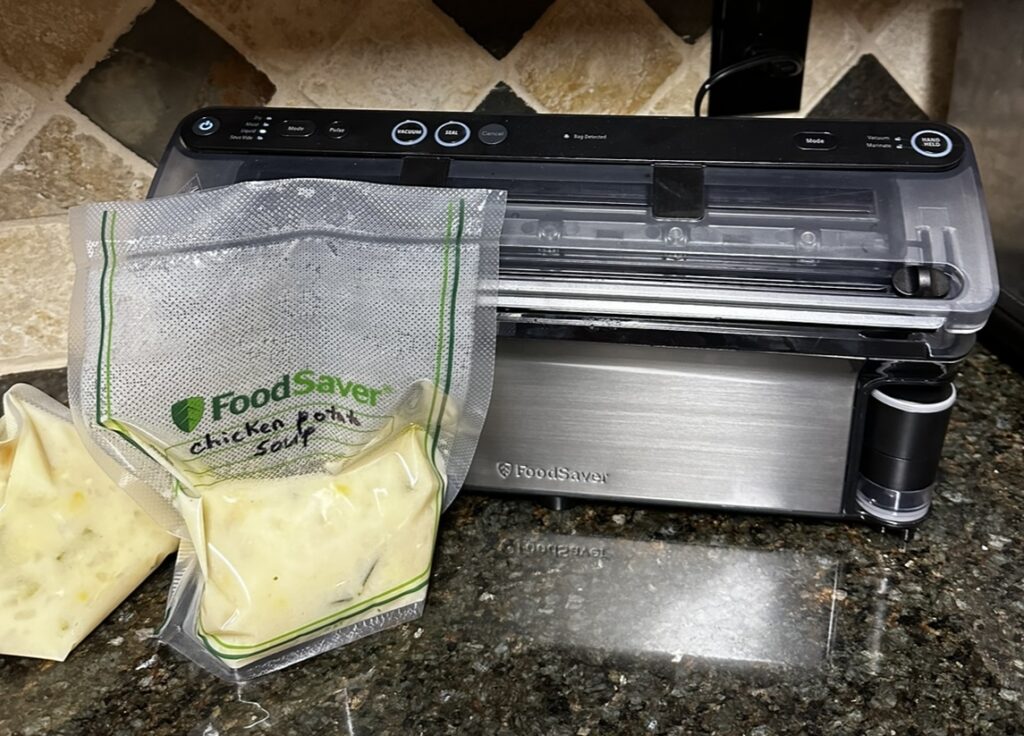
My husband and I really love soup, so I am making different recipes all of the time. Soup is just so filling and easy to heat up for a quick lunch. I recently vacuum sealed my latest batch of chicken potato stew, and it worked really well!

Why should I vacuum seal soup?
Vacuum sealing soup offers several benefits that enhance food preservation and convenience. Here are some key reasons to vacuum seal soup:
1. Extend Shelf Life
- Reduced Exposure to Air: Vacuum sealing removes air, which slows down the oxidation process that causes food to spoil. This significantly extends the shelf life of the soup.
- Prevent Freezer Burn: By eliminating air, vacuum sealing prevents freezer burn, which can affect the texture and taste of the soup.
2. Maintain Freshness and Flavor
- Flavor Preservation: Vacuum sealing locks in the flavors and aromas of the soup, ensuring it tastes as fresh as the day it was made.
- Nutrient Retention: Sealing soup in an airtight environment helps retain essential nutrients that might otherwise degrade over time.
3. Space Efficiency
- Compact Storage: Vacuum-sealed bags are more compact and stackable compared to traditional storage containers, making better use of freezer or refrigerator space.
- Custom Portion Sizes: You can seal soups in single-serving portions or family-sized quantities, tailored to your specific needs.
4. Convenience and Time-Saving
- Meal Prep: Vacuum sealing allows you to prepare soups in bulk and store them for future use, saving time on meal preparation during busy days.
- Easy Reheating: Pre-portioned vacuum-sealed soups can be easily thawed and reheated, providing a quick and convenient meal option.
5. Reduce Waste
- Less Food Waste: Vacuum sealing helps prevent spoilage, reducing the amount of food that gets thrown away.
- Efficient Use of Ingredients: By preserving leftovers and extra portions, you can make the most of your ingredients and reduce waste.
6. Protection from Contaminants
- Barrier Against Contaminants: Vacuum sealing provides an airtight barrier that protects the soup from external contaminants like bacteria, mold, and odors from other foods.
7. Ideal for Sous Vide Cooking
- Sous Vide Preparation: Vacuum-sealed bags are perfect for sous vide cooking, allowing you to reheat soup evenly and precisely without overcooking.
8. Emergency Preparedness
- Long-Term Storage: Vacuum-sealed soups can be stored for extended periods, making them a great option for emergency food supplies.
9. Enhanced Marination
- Flavor Infusion: If you add herbs or spices before sealing, the vacuum process helps infuse the flavors more deeply into the soup, enhancing its taste.
10. Economical
- Bulk Buying and Cooking: You can buy ingredients in bulk and cook large batches of soup, then vacuum seal portions to save money and reduce the cost per serving.
Vacuum sealing soup is a practical method to preserve its quality, save space, and enjoy the convenience of ready-to-eat meals.
Vacuum sealing soup with a FoodSaver is a convenient way to preserve its freshness and extend its shelf life.

Here’s a step-by-step guide on how to properly vacuum seal soup using a FoodSaver:
Materials Needed:
- Soup (cooled to room temperature)
- FoodSaver vacuum sealer
- FoodSaver vacuum seal bags or rolls
- Ladle
- Freezer-safe container (optional)
- Paper towels
Instructions:
- Cool the Soup: Ensure your soup is completely cooled to warm, rather than hot.
- Prepare the FoodSaver Bag:
- If using pre-made vacuum seal bags, skip to the next step. If using a roll, cut a bag to the desired size, allowing enough space to leave about 3-4 inches at the top for sealing.
- Seal one end of the bag by placing it in the sealing strip area of the FoodSaver and pressing the “Seal” button.
- Fill the Bag with Soup:
- Ladle the soup into the bag carefully. Avoid overfilling; leave about 3-4 inches of headspace at the top to ensure a proper seal.
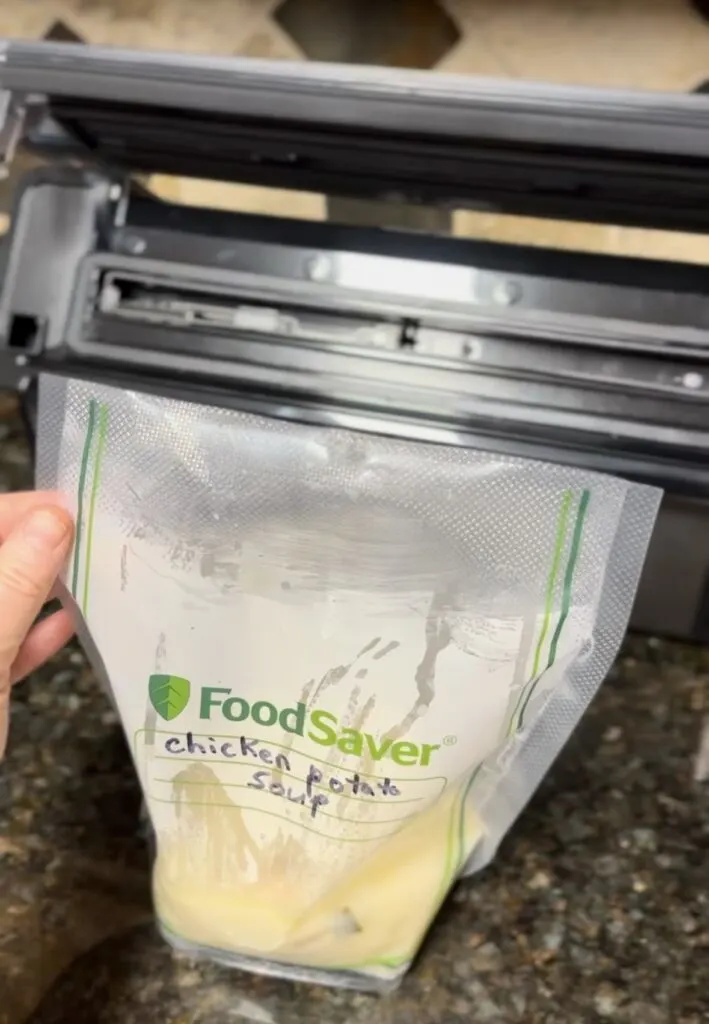
- Prepare for Sealing:
- Wipe the inside of the bag's top edge with a paper towel to remove any moisture or food particles. This ensures a clean, tight seal.
- Ensure the top of the bag is dry and free from any soup residue.
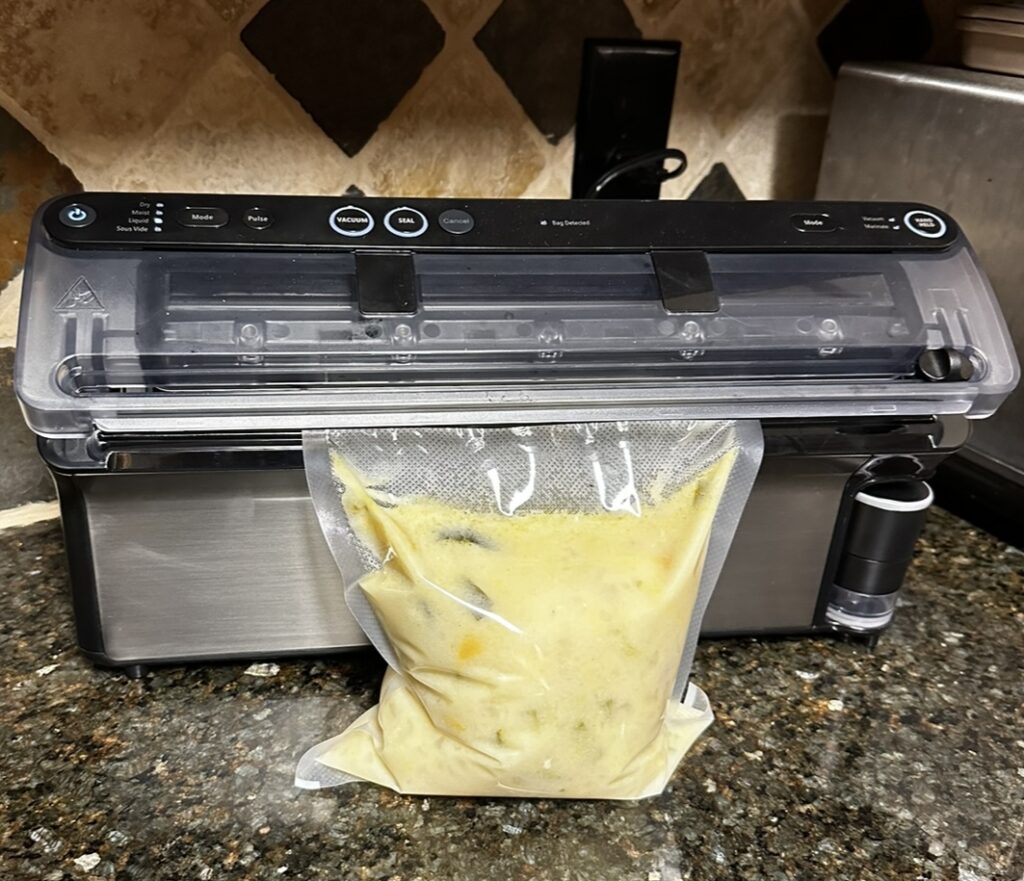
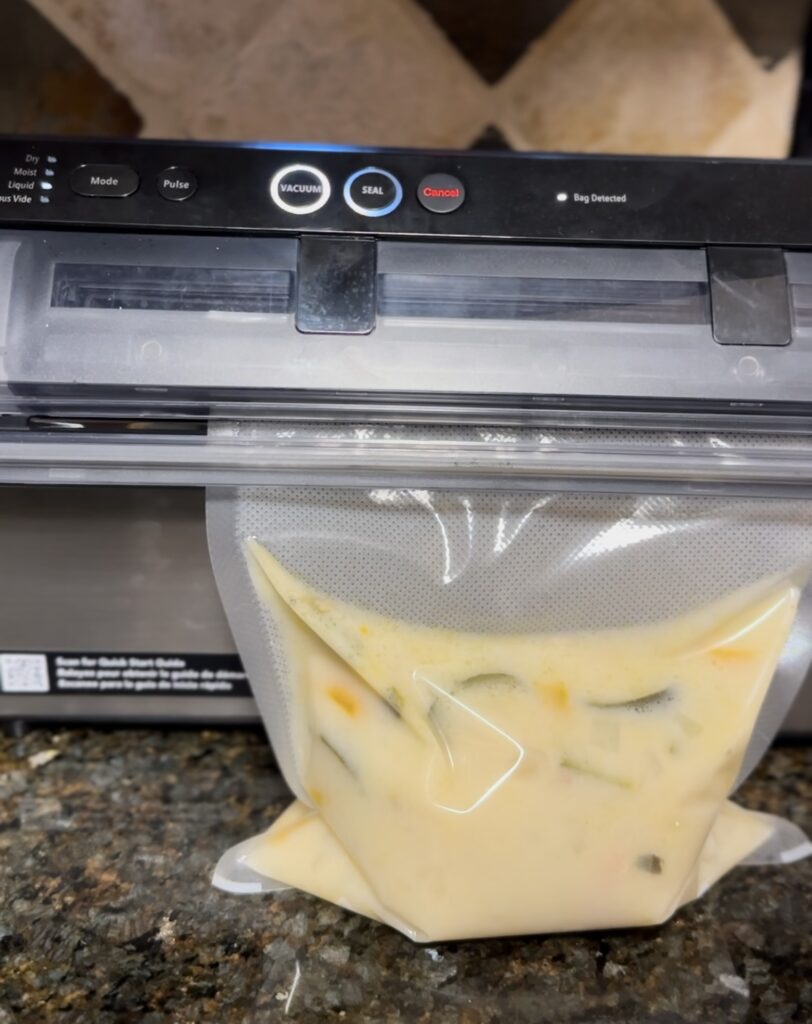
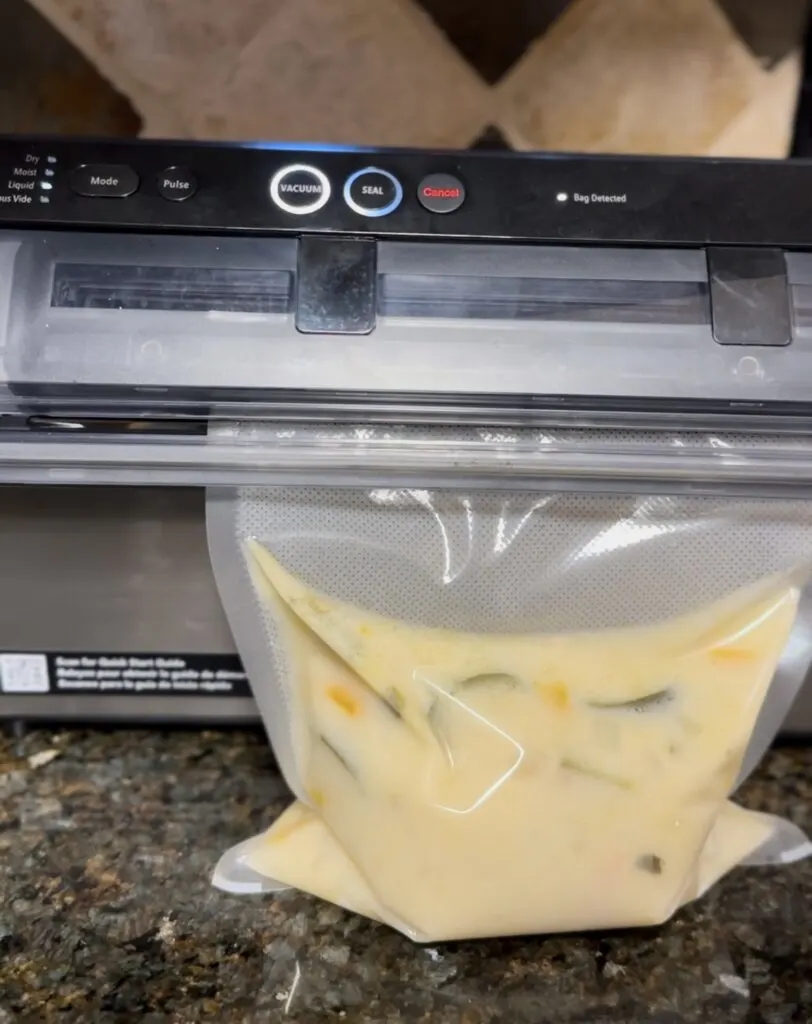
- Vacuum Seal the Bag:
- Place the open end of the bag into the vacuum sealer’s drip tray.
- Close the FoodSaver lid and lock it in place if required.
- Press the “Vacuum" button. The machine will remove the air and then automatically seal the bag when pressing "seal."
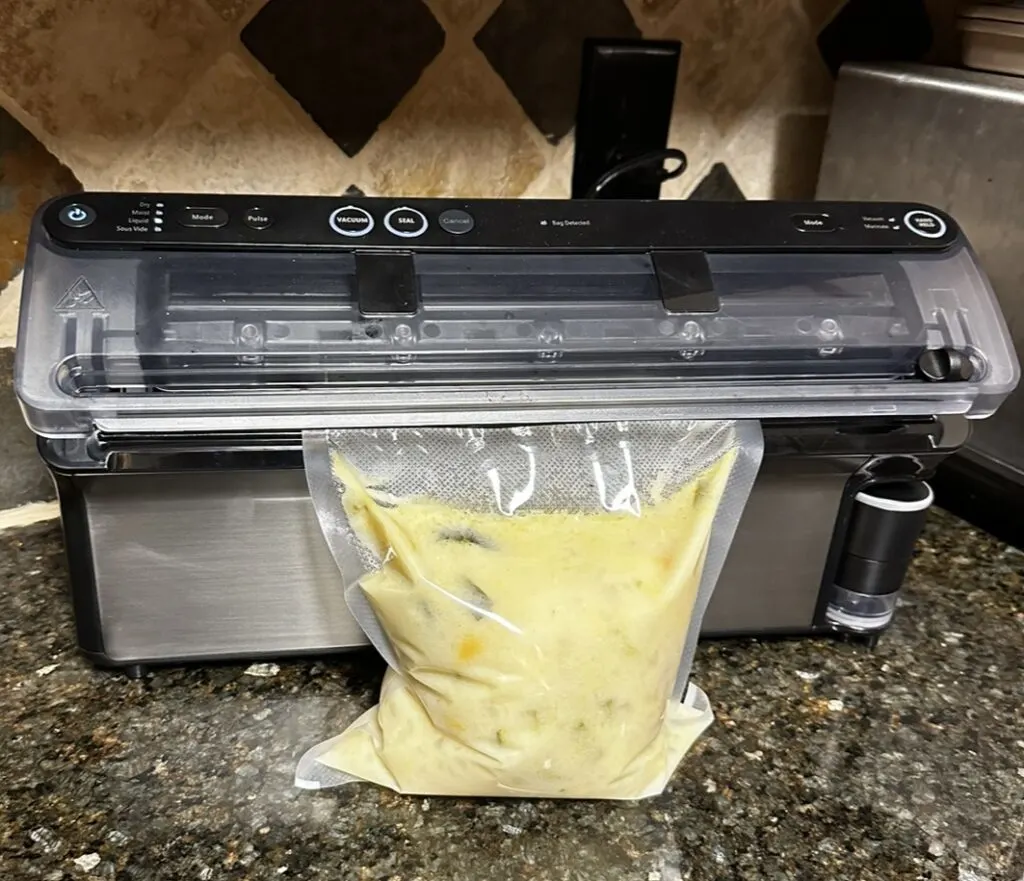
- Once the process is complete, the machine will stop. Check the seal to ensure it's tight and secure.
- Label and Store:
- Label the bag with the contents and date of sealing.
- Store the vacuum-sealed soup in the freezer. Vacuum-sealed soup can last significantly longer than traditionally stored soup, maintaining its quality and flavor for months.
By following these steps, you can efficiently vacuum seal your soup with a FoodSaver, keeping it fresh and ready for future meals.
What is the best vacuum sealer for soup?
I recently was given the FoodSaver® Elite All-in-One Liquid+™ Vacuum Sealer and it has been a dream for storing soups and other foods.
Screenshot
Check out these features:
- Food vacuum sealer keeps food fresh up to 5x longer compared to ordinary storage methods and prevents freezer burn to help you waste less and stretch your food dollar further
- For the first time ever, easily seal liquids like soups, sauces and salsas with your FoodSaver Vacuum Sealer!* (*Liquids with a viscosity of 1.39 mPa·s or higher)
- 6 custom settings including Dry, Moist, Liquid, Sous Vide, Marinate, and Pulse modes allow you to vacuum seal, preserve, and prep a variety of different foods
- Automatic bag detection senses when a vacuum seal bag is in place, and automatically closes and securely locks the machine so you can begin sealing; LED lights on SEAL button display sealing progress
- Cutter bar and built-in roll storage make it easy to create custom-sized vacuum seal bags in seconds
- Built-in retractable handheld sealer is compatible with zipper bags and containers, perfect for quick vacuum sealing and marinating
- Easy Bag Alignment and extra-wide sealing strip make it simple to perfectly position bags to avoid bag waste; dishwasher-safe removable drip tray prevents messy counter spills
- Also includes two 11" x 10' vacuum seal rolls, 10 Easy Fill quart-size bags, 5 Easy Fill gallon-size bags, 5 precut quart-size bags, 5 precut gallon-size bags, 5 quart-size zipper bags, 5 qallon-size zipper bags, one 5-cup Marinate & Preserve container, a wine stopper, and a retractable handheld accessory
This FoodSaver vacuum sealer is a good choice for storing a homemade meal, story vacuum-sealed food in the fridge or freezer, sealing things from potato chips to liquid food. Your FoodSaver vacuum sealer machine will allow you to choose the setting and is the easy way to store food!
Screenshot