My little guys are really getting into "Star Wars." It all started with "Angry Birds Star Wars," oddly enough, but now they're crazy about it. So much so, that the Captain is going to be Darth Vader and D will be Luke Skywalker for Halloween. Hubby loves the movies and while the boys haven't seen them yet, they love reading about Star Wars, hearing Daddy talk about it, and of course role-playing. Hubby can't wait to see the new Star Wars movie!
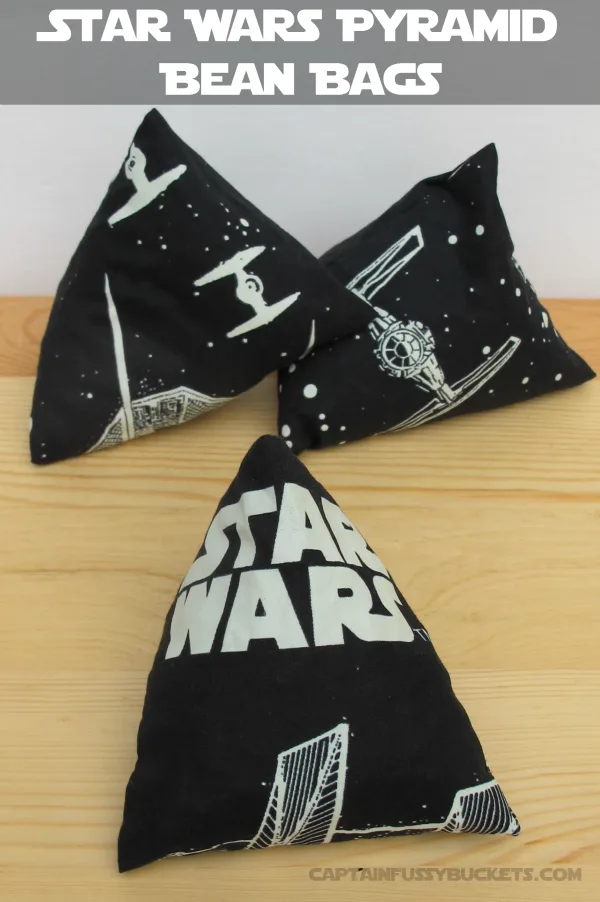
A few months ago, I found some adorable Star Wars glow-in-the-dark fabric on eBay and knew I needed to get a project started for the boys. I remember learning how to make pyramid bean bags in college in an Elementary Physical Education class, and I knew the boys would flip for Star Wars bean bags! (I found this awesome glow-in-the-dark Darth Vader material on Amazon if you can't locate this particular print on eBay.) Star Wars is HUGELY popular right now, in case you missed it, so you can probably easily find fabric that you love. (Also, in the pictures, if you are wondering, is the awesomely cool Millennium Falcon from Playskool. It has been a HUGE hit with all three boys. It comes with R2-D2, Han Solo, and Chewbacca, and Darth Vader and Luke Skywalker are sold seperately.)
I am not a professional at using my sewing machine, so I place myself in the "beginner" category. I can make pillows, fix busted hems, and very basic stuff. These bean bags are definitely for "beginners," so don't feel like you can't make them. If I can, so can you!
Materials needed for 7 Bean Bags
- ½ of a yard of fabric
- paper for pattern - 5" x 5"
- scissors
- sewing machine (You can sew them by hand, I prefer not to because the bean bags will be tossed around and take quite the beating so you don't want your seams to rip.)
- thread
- needle
- About four pounds of pinto beans (you can use rice, peas, beans, plastic pieces, or whatever you like)
- safety pins
Directions:
- Fold your fabric in half, with the right sides together.
- Use a pattern cut out of paper that is 5" x 5" to measure and cut each beanbag.
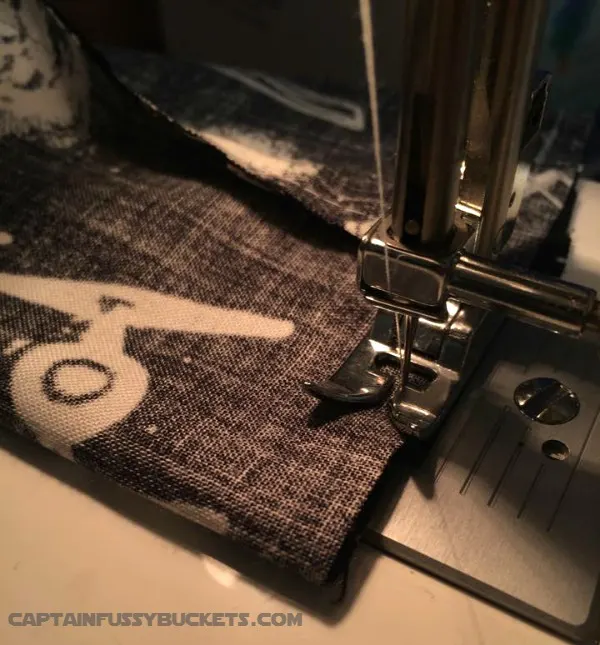
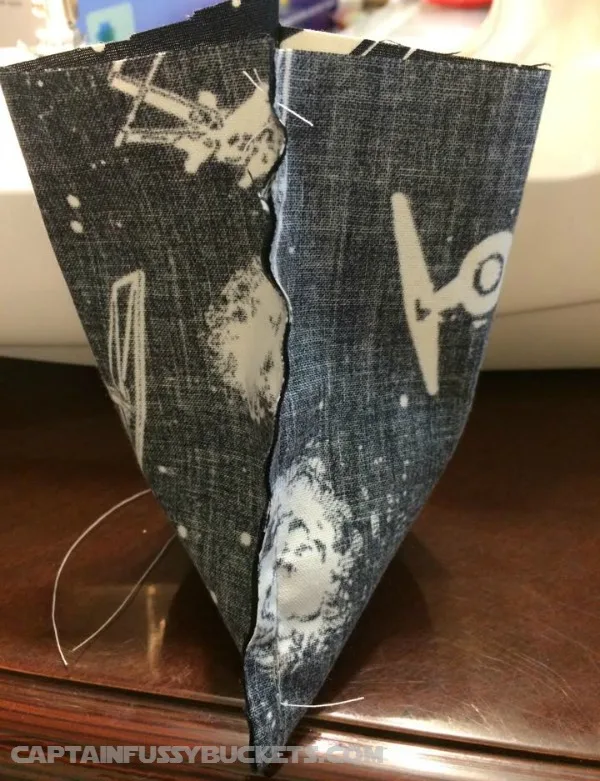
- With right sides together, sew the two opposite sides of the bean bag with about ¼ inch seam, leaving the top unsewn. Make sure to reinforce the start and finish of each side by sewing forward, backward, and forward again with your sewing machine.
- Pick up the bean bag fabric, trim any excess threads, and then turn them right side out. Make sure to poke the corners out with a fabric stick or pencil.
- Fill bean bags with your choice of filling (I used dried pinto beans.) You don't want to overfill it, but you also don't want to underfill. I used a makeshift funnel made out of construction paper:
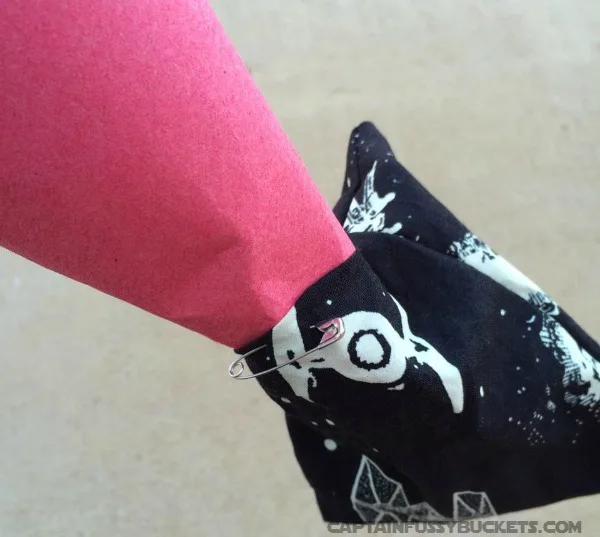
- Make sure that you fold the open ends perpendicular to the bottom seam. Fold seams down ¼" and use a pin to hold shut.
- When you're ready to sew the bean bag shut, you can do it by hand or use a machine. I used my machine and it did well, but I did have to remove a few beans with some bags. It's up to your preference. DO make sure to reinforce the ends so your bean bag doesn't bust open.
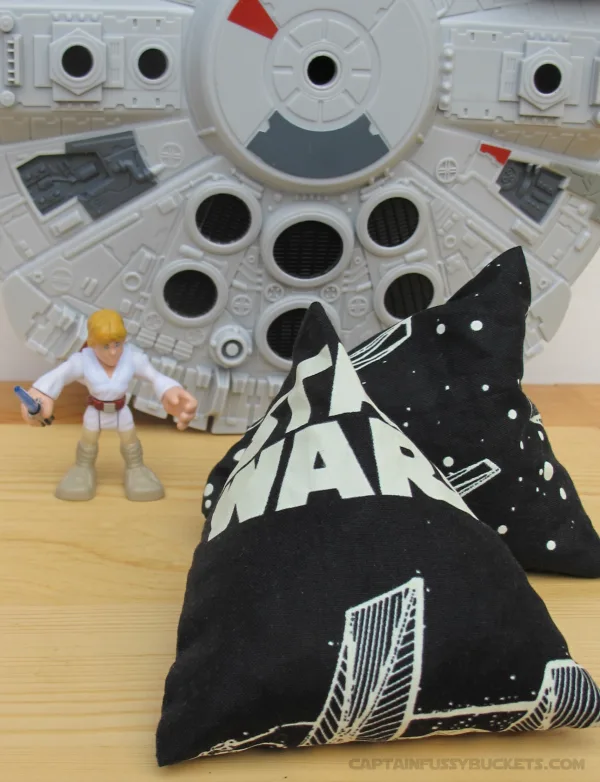
Kids can play many games with these easy to hold bean bags. And they even make a fun night time toy because the fabric I used glows in the dark!


Crystal
Thursday 17th of August 2017
These are so cute!