contains affiliate links

The weather is warming up and it makes me SO happy! Even though we live in Texas, the warmer temperatures are a welcome relief, if the winter happened to be a mild one. I love everything about Spring. The color brought back to the outdoors, a warm, shining sun, baby animals, and plants! We are planning a garden and I cannot wait until we can get some summer squash, zucchini, peppers, and more into the ground to start growing.
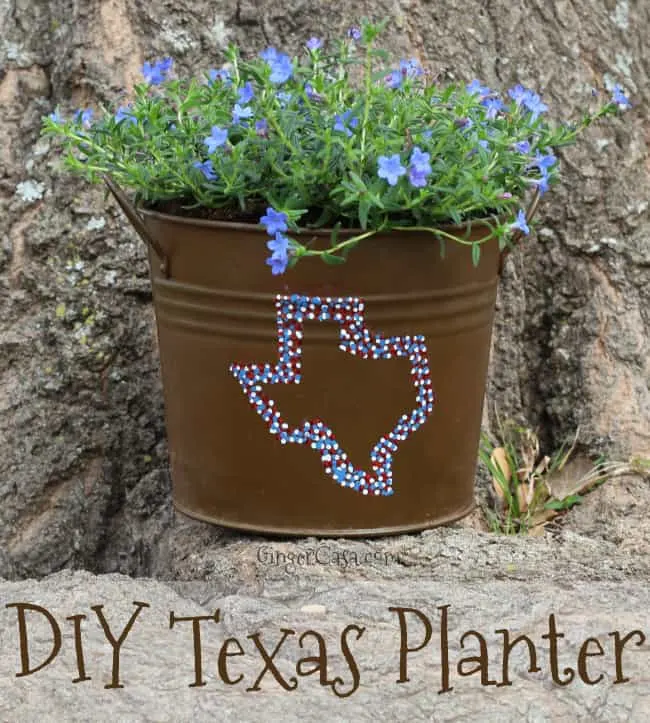
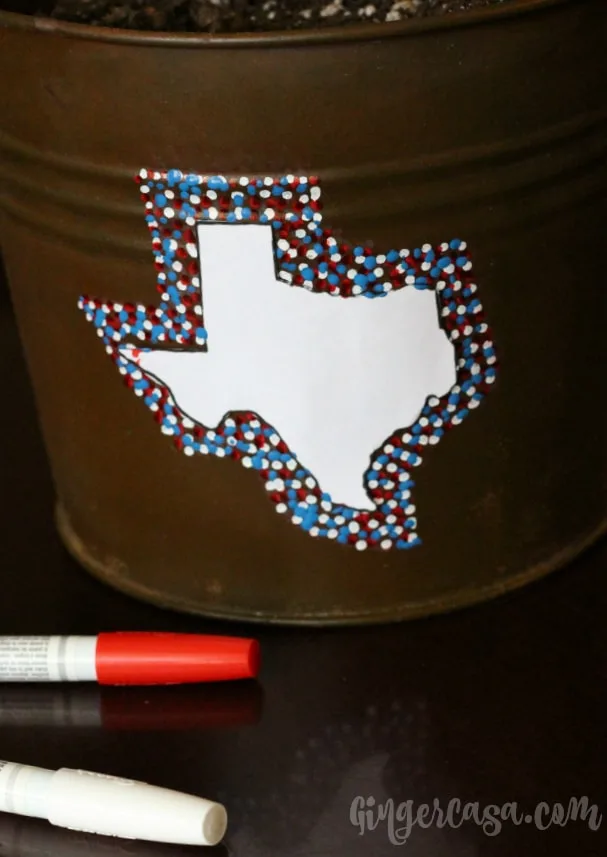
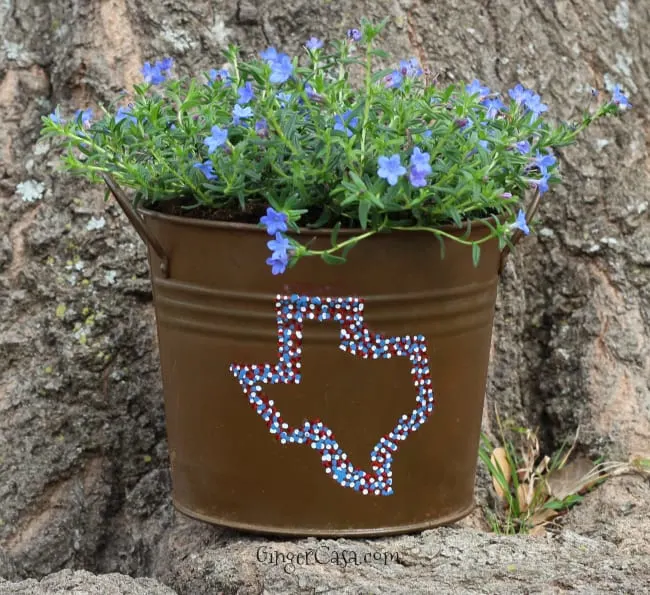
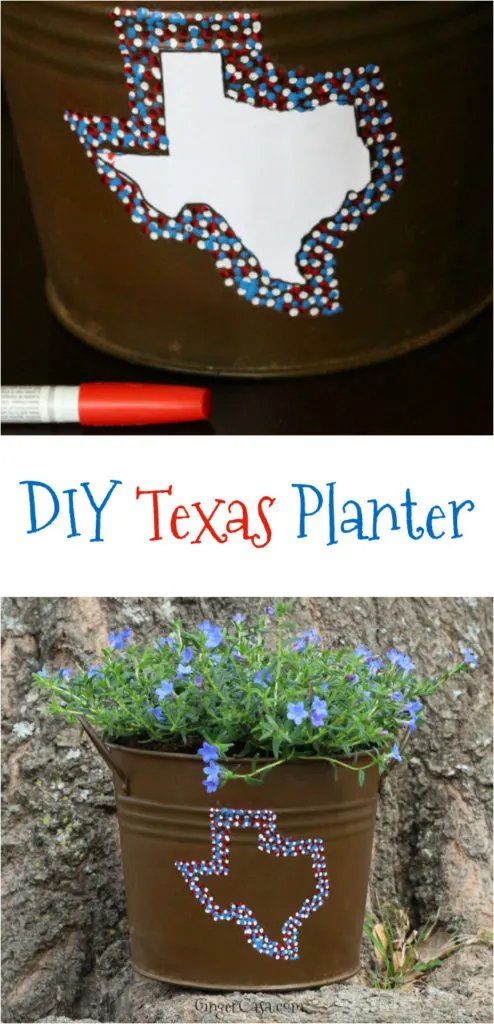
I also like to add some new plants around the house. I was able to get a cute planter that was my grandmother's, but it was pretty plain. I decided to jazz it up a bit using oil based Sharpies. I cleaned it up a bit with alcohol and then printed a Texas shape and taped it to one side. Then, using one color at a time, I dotted around the Texas cutout. After allowing each color to dry, I repeated the process with another color until red, white, and blue had all been used.

It turned out really pretty! I finished it off with a sealant to make it last and not rust. I should be able to use this year after year, with different plants!

DIY Texas Planter
Materials Needed
- red, white, and blue oil based Sharpies
- metal or glass planter
- paper cutout of the state of Texas
- sealant
Instructions
- Clean the surface of the planter with soap and water or rubbing alcohol to remove any residue.
- Tape Texas cutout on the side of planter. (fold it up under, don't tape the sides)
- Starting with one color (red, white, or blue), dot around the Texas cutout.
- Let each color dry between applications.
- When all colors have dried, remove the Texas cutout.
- Gently brush off any particles and then spray with a sealant.
- Fill with potting soil and your favorite plant(s)!

