Beverage Bands DIY has been compensated. All opinions are mine alone.
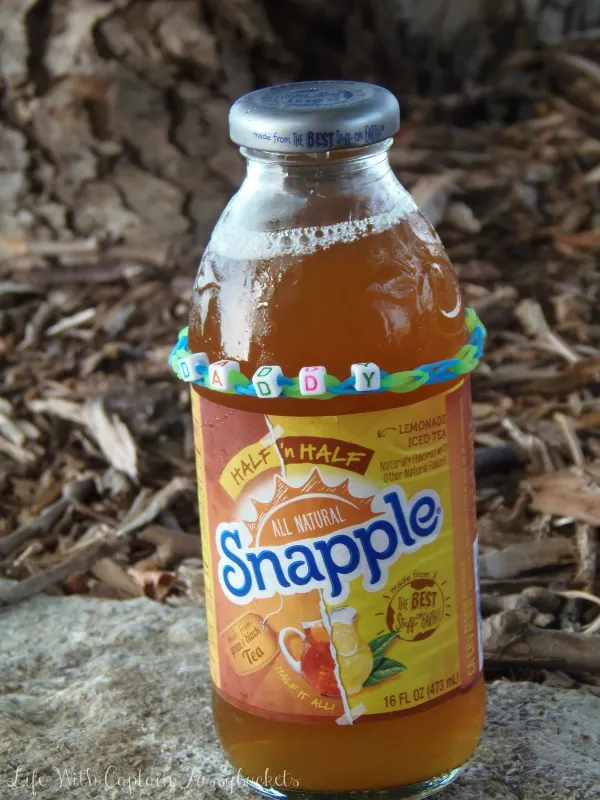
If one thing is for certain, our family stays well hydrated. We all love our drinks, but admittedly, they're not always healthy. I have made a concious efffort to start drinking more water and when I want a sweet drink, to make it a better beverage choice. I know the boys are always watching...and waiting to have a sip of my drink, as well! I need to be making good drink choices not only for me, but for my family.
While we are making healthier drink choices, the issue still exists that we can't keep track of which drink is ours. That's fine, I guess, since we are all family, but with the holidays and sick season coming up, I wanted to create a way to keep track of our drinks. The boys and I made some super cute DIY Beverage Bands that were very easy!
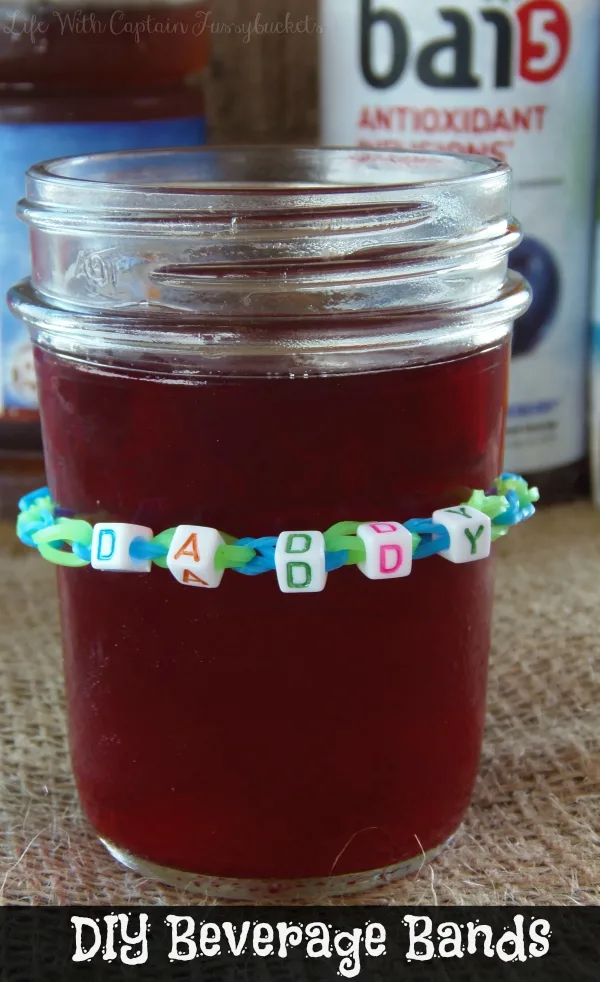
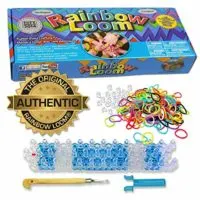
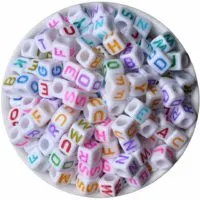
The loom bracelet trend is still going strong, at least in our house. The Captain loves to make all sorts of things with those little elastic bands...we find them everywhere! My niece also taught the boys how to make bracelets on their fingers and both of them can make one in a flash! It's a great way to help with their fine motor skills, so I'm a fan. If you don't have a loom bracelet maker in your house, they're sold at Walmart or any craft store for not much. I had the idea to make drink markers or beverage bands with small letter beads, so we would know what drink belonged to whom. I bought some 6 mm alphabet letter cube beads online and they worked well!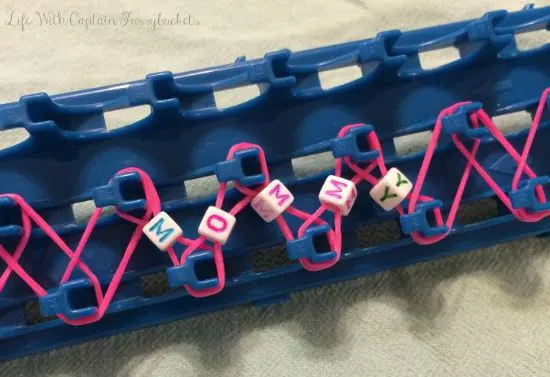
For guests, make one that just says "Mine" -
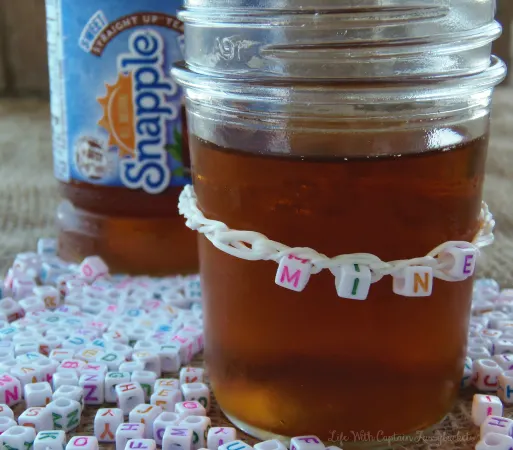
Don't miss this I Spy Bottle DIY and another DIY drink band idea!
Beverage Bands DIY
Beverage Bands DIY
Materials
- small elastic bands
- 6 mm alphabet letter cube beads
- plastic clips for closing off bracelets
Tools
- loom bracelet maker
Instructions
- Pick which colors you want in your Beverage Band. Select about 12 bands, total.
- Pick out the letters needed for the name you are going to make.
- Start just like you would making a regular loom bracelet. (There are many great tutorials online if you're not sure how.)
- After you have added about 3 elastics to the loom, thread one elastic through one alphabet bead and add it on the loom the same way as the other elastics.
- Continue with this until all of the letters have been added.
- Finish off the loom with the remaining elastics and close the Beverage Band with the plastic clip.
- Place on your beverage to let people know that it is yours!
Recommended Products
As an Amazon Associate and member of other affiliate programs, I earn from qualifying purchases.

Emily
Monday 14th of September 2015
These are super cute! What a fun idea. I'm always mixing up our Fiji waters! #client
Gena
Tuesday 15th of September 2015
Yes, it gets much trickier when everyone in the family is drinking the same drink. ha ha! Maybe this is my way to tell Hubby "hands off my tea!" :)