This shop has been compensated. All opinions are mine alone.
Making Memories Together: Double Chocolate Oatmeal Cookie Recipe and Picture Ornament Craft for Kids

Being the mom of three boys is sometimes tough. Most often, they would rather be playing a game or kicking a ball with Daddy. This weekend, however, Daddy is on a retreat and the boys are "stuck" with Mommy. Sure, we can go outside and play ball or play a game, but I wanted it to be a special weekend, doing things to celebrate the holiday season and spending time together baking and doing crafts. Sometimes I get in over my head, but that is okay, messes can always be cleaned up.
We began our Christmas celebration with a trip to Target to purchase a few supplies for a new double chocolate oatmeal cookie recipe that we were going to make. I love that Target has a festive holiday section in the back of the store with fun holiday themed everything! There you will find many different holiday themed products.
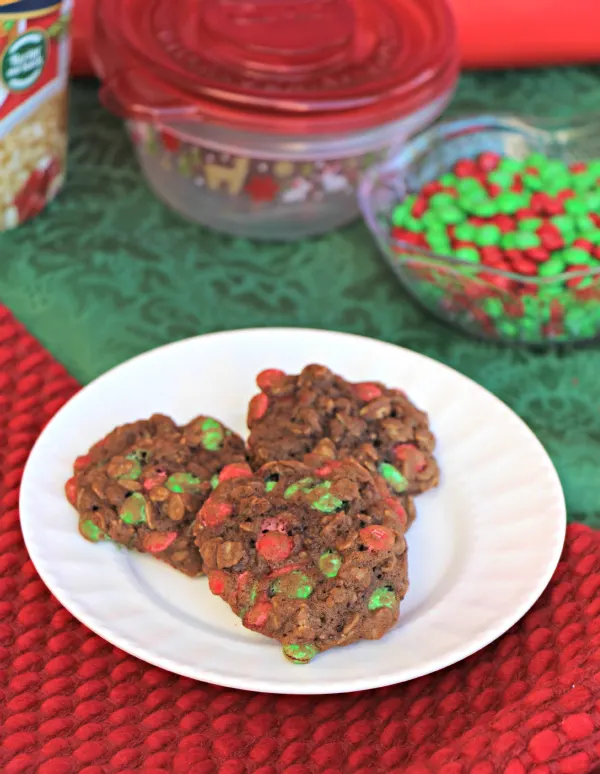
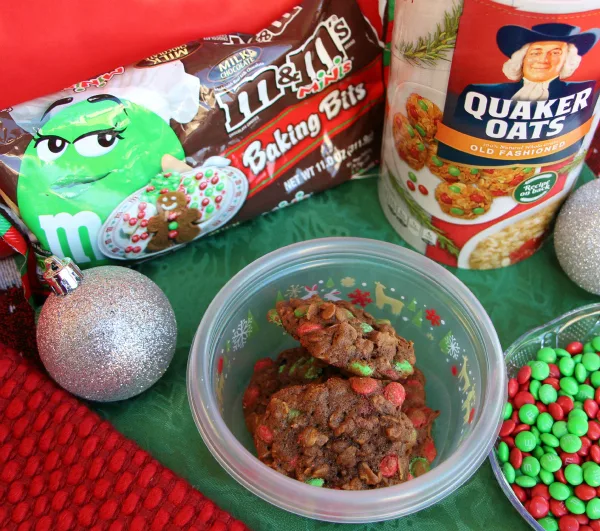
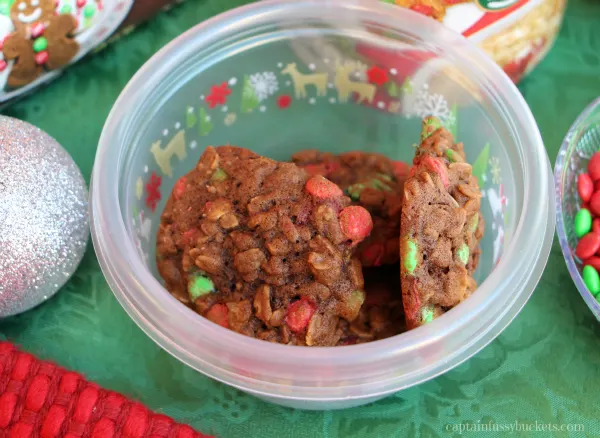
After we had enjoyed a few of the cookies, we packaged some up in the adorable Glad® holiday themed containers and delivered them to our neighbors! They loved the special surprise.
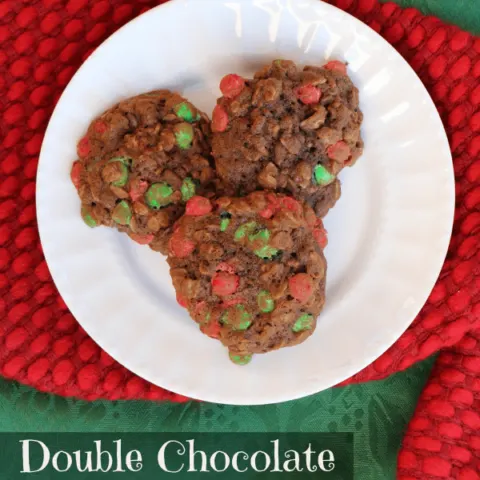
Double Chocolate Oatmeal Cookie Recipe and Picture Ornament Craft for Kids
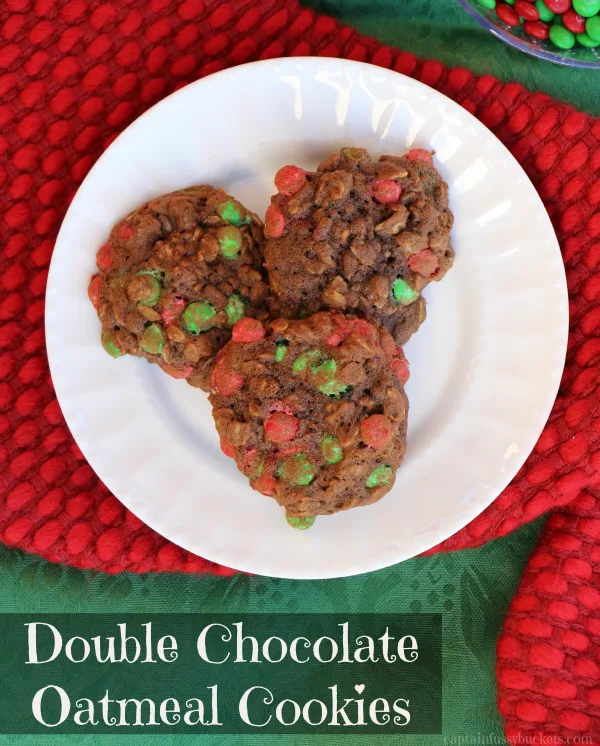
These Double Chocolate Oatmeal Cookies are delicious to eat and fun to make!
Ingredients
- 1 ½ cups Quaker old fashioned oats
- ¾ cup flour
- ¼ cup cocoa
- ½ teaspoon baking soda
- ¼ teaspoon salt
- 1 stick of butter, softened
- ¾ cup coconut sugar (any sugar can be used, but coconut is my favorite)
- 2 eggs
- ½ teaspoon vanilla paste
- 1 cup M&M’S® Holiday Baking Minis
Instructions
- Line a large baking sheet with parchment paper.
- Preheat oven to 350° F.
- In a large bowl, stir together oats, flour, cocoa powder, baking soda, and salt.
- In a mixing bowl, cream together softened butter and coconut sugar until smooth.
- Beat in the two eggs and vanilla paste for 3-4 minutes, until fluffy.
- Slowly fold in the dry ingredients into the wet ingredients and mix just until combined, do not over mix.
- Gently fold in M&M’S® Holiday Baking Minis.
- Drop by rounded spoonful onto your baking sheet.
- Bake for 10-11 minutes, or until the edges are set.
- Remove cookies from oven and allow them to cool before eating.
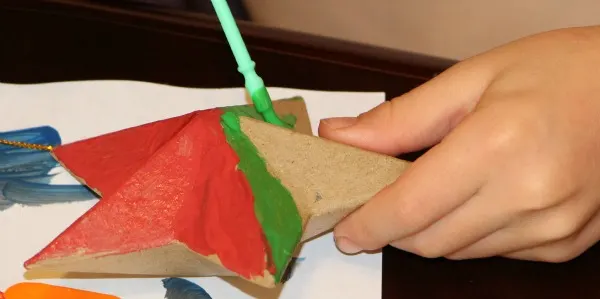
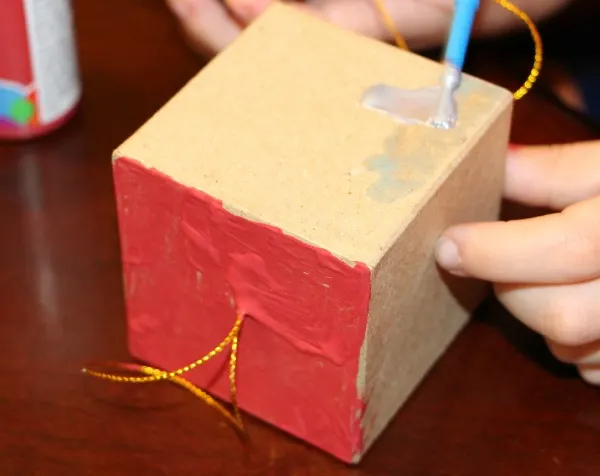
Baby Brother, who recently turned 2, did need some help painting, but he had a (messy) blast, for sure. The boys and I shared many laughs together and they loved doing something different and special for Christmas. Plus, their ornaments will be special to see every year as we decorate the tree!
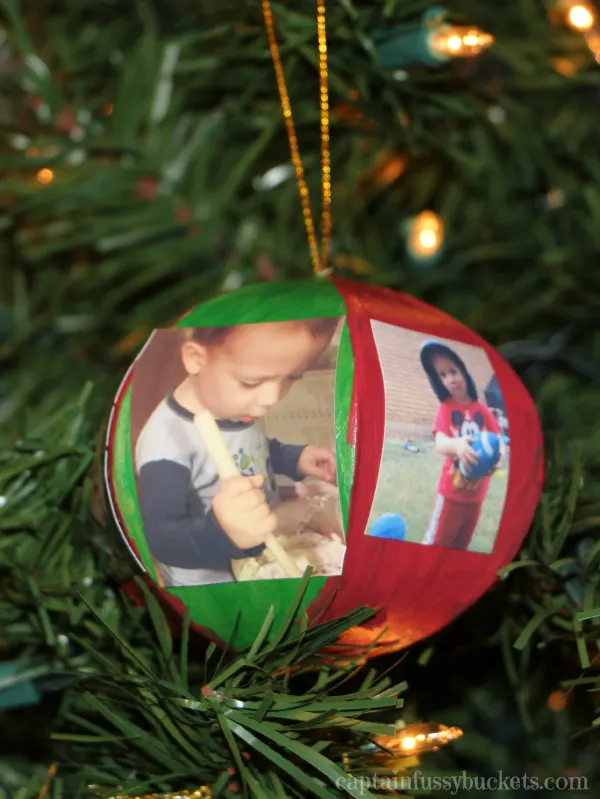
Picture Ornament Craft for Kids
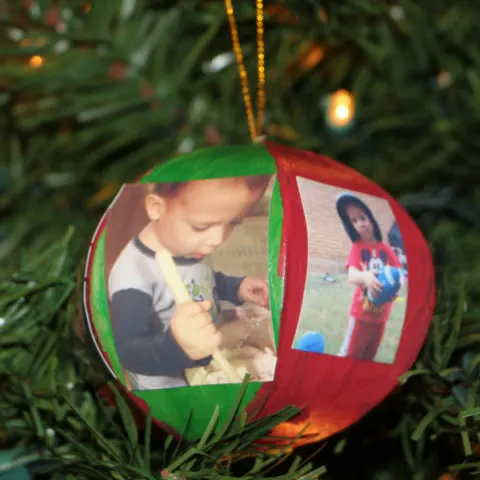
Picture Ornament Craft for Kids
This is a fun picture ornament craft to make with the kids!
Materials
- paper mache ornaments for crafting
- craft paint, in different festive colors
- sticky picture paper
Tools
- scissors
- printer
- paintbrushes
Instructions
- Paint the cardboard ornament with craft paint - be creative as you like!
- Let painted ornament dry.
- While drying, print out pictures on sticky photo paper.
- Cut pictures to fit on the ornament.
- When paint has dried, peel the backing off of the photo paper and affix to the ornament.
- Hang on the tree!
How do YOU celebrate the season?

Carolyn West
Sunday 6th of December 2015
What fun. I always loved baking for the neighbors with the kids. Gave us all so much happiness. #client